Jackery bundle
$799.36Explorer 1000 V2
200W solar panel
Carrying bag
Historical ideas and inspection records. Read the current Rebuild 2 update →. Equipment and plans below may have been superseded.
Van life journal · Updated October 1, 2026
The first idea was to preserve most of the Elk interior. After spending time inspecting the van, I’m planning a more substantial rebuild: insulation, modern lighting, a small projector, and separate camping power. Here is what I have observed, what has changed, and what remains unresolved.
See the working plan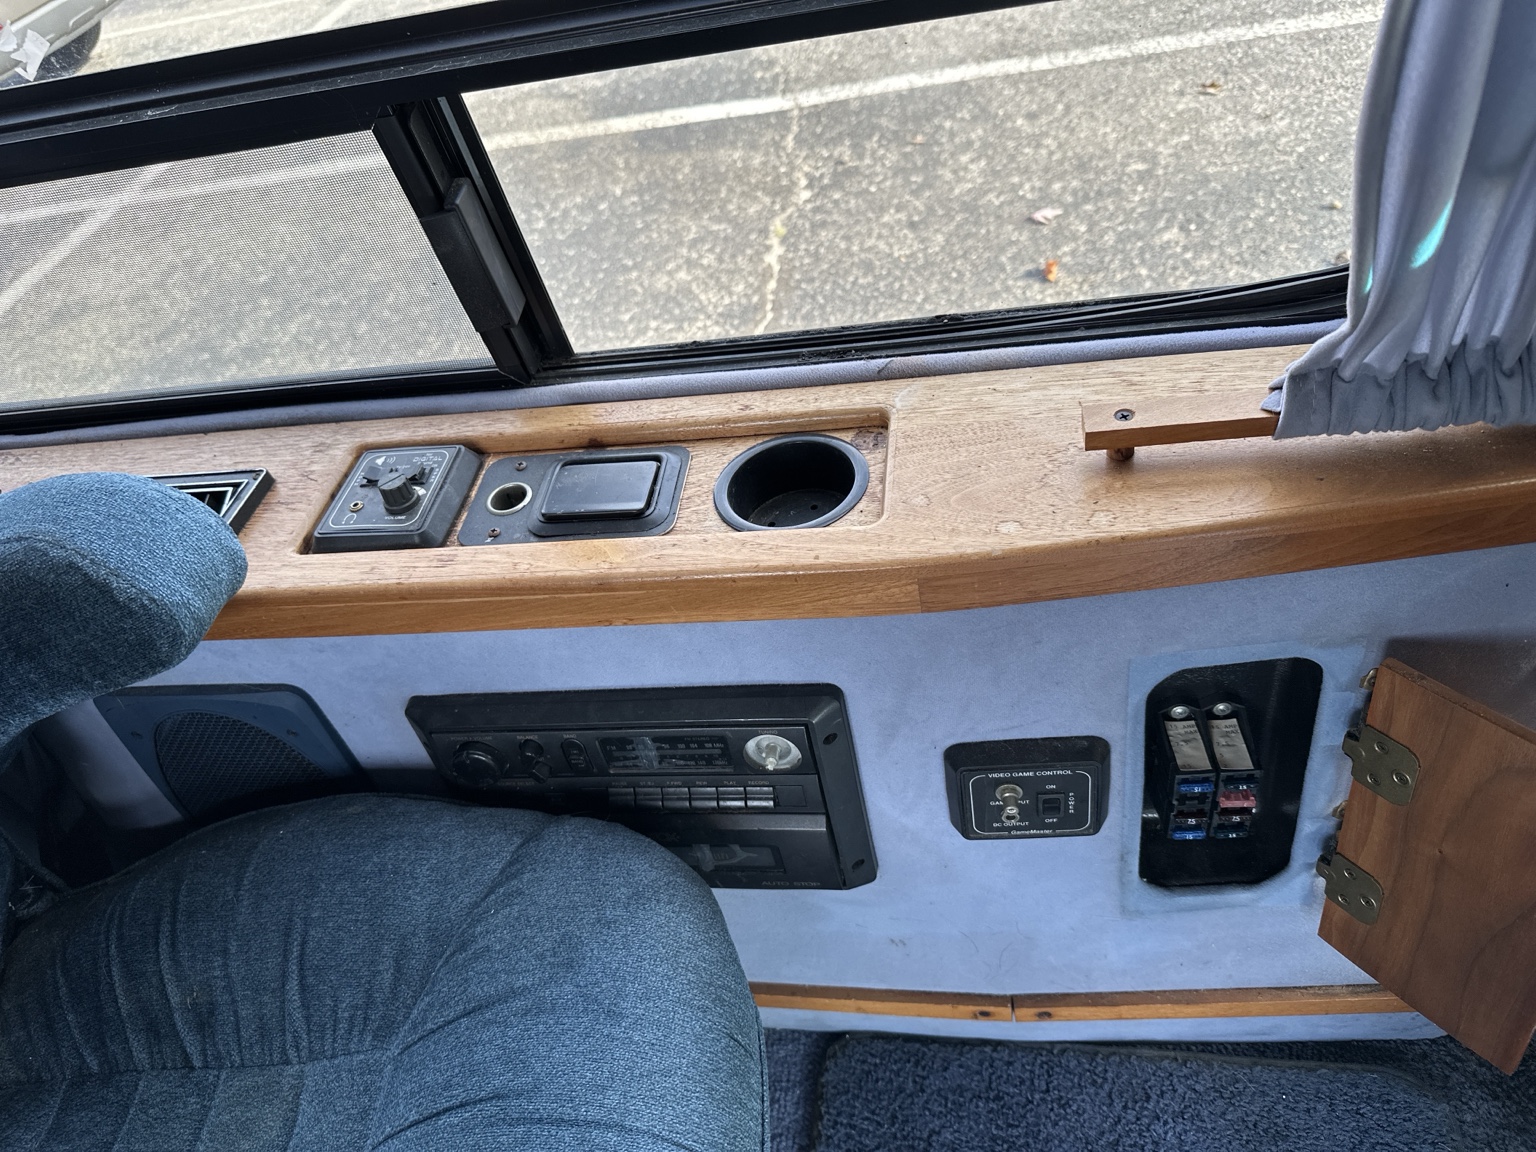
Confirmed purchases · Updated October 3, 2026
My confirmed build purchases total $1,638.32. Title transfer, permanent disabled-veteran registration and related paperwork add $380.00, bringing the recorded project spending in this update to $2,018.32.
Explorer 1000 V2
200W solar panel
Carrying bag
Roof ventilation fan
Purchased · installation separateDicor sealant + butyl tape
Winch + mount · diesel heater
Grinder · drill bits
Title transfer
Permanent disabled-veteran registration
Related paperwork
USB-C cable and wall charger.
No new cost added.
Unconfirmed wiring supplies, insulation, window-cover materials and cabinet concepts.
No vehicle purchase price is included. The $487.62 balance needs individual receipt amounts; it is not another charge. All layout illustrations remain possibilities, not final decisions.
| Purchased item | Recorded paid amount | Accounting note |
|---|---|---|
| Jackery Explorer 1000 V2 | $799.36 bundle | Confirmed purchase; bundle price includes the panel, bag and reported tax. |
| Jackery 200W solar panel | Included above | Confirmed as part of the Jackery bundle; not added twice. |
| Jackery carrying bag | Included above | Confirmed as part of the Jackery bundle; not added twice. |
| MaxxFan Deluxe | $351.34 | Confirmed purchase. |
| Dicor lap sealant | Not individually itemized | Confirmed purchase; part of the $487.62 combined balance below. |
| Dicor butyl tape | Not individually itemized | Confirmed purchase; part of the same combined balance. |
| Winch | Not individually itemized | Confirmed later-batch purchase; part of the same combined balance. |
| Winch mount | Not individually itemized | Confirmed later-batch purchase; part of the same combined balance. |
| Diesel heater | Not individually itemized | Confirmed later-batch purchase; part of the same combined balance. |
| Grinder | Not individually itemized | Confirmed later-batch purchase; part of the same combined balance. |
| Drill bits | Not individually itemized | Confirmed later-batch purchase; part of the same combined balance. |
Download the purchased-item budget (CSV)
Budget completeness: every purchased item named in the supplied update is listed here. Individual amounts for the Dicor materials and later batch, including any shipping or tax allocation, are still needed to reconcile those receipts line by line. The $487.62 is a calculated combined balance, not an extra purchase. The earlier $18.29 Dicor shopping quote is not added again. No vehicle purchase price is included because none has been confirmed in this budget.
I already had the USB-C cable and wall charger discussed in the original shopping list, so they are recorded as existing equipment without a new purchase charge. Fan wiring, an inline fuse holder, fuses and a 12V plug were discussed, but payment was not confirmed in the available notes. They remain unconfirmed rather than silently counted as purchased. The rejected Dicor installation kit and earlier power-station alternatives are not additional purchases.
The foam-board insulation, window-cover materials, wall insulation, and fridge/battery cabinet concepts remain separate plans unless a purchase is recorded above. Shopping estimates and the products pictured in concept illustrations are not additional spending. Installation and testing are tracked separately from purchases.
Newer update: The fan is now ordered, and the insulation priorities have changed. Read the October 2 build update →
From the latest inspection
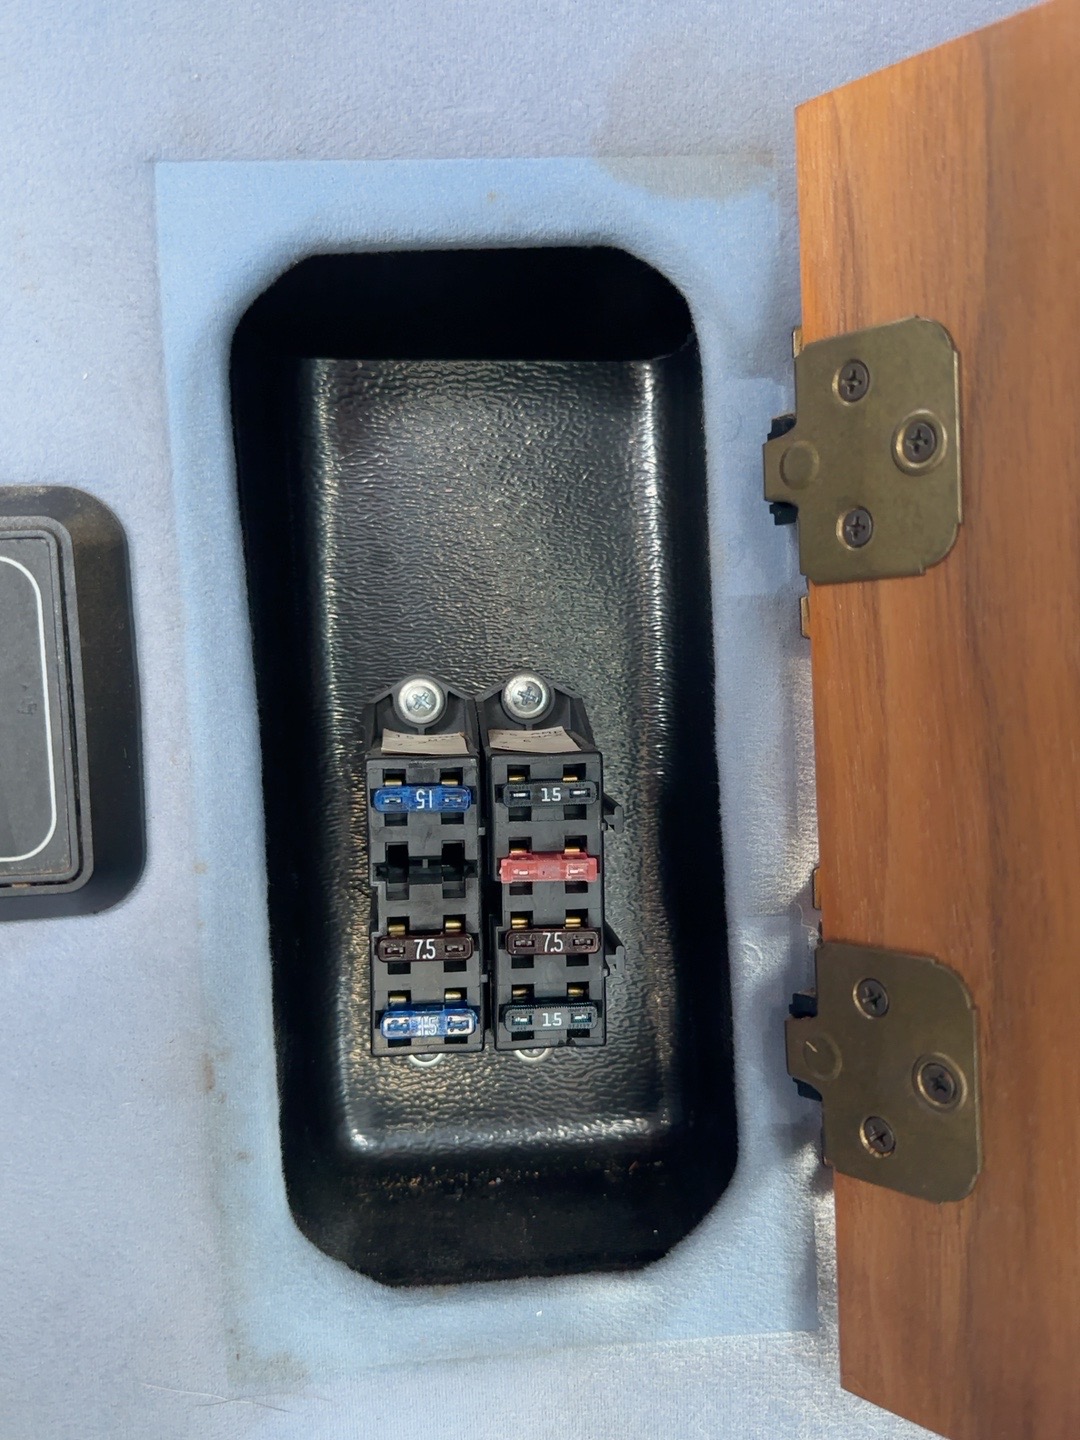
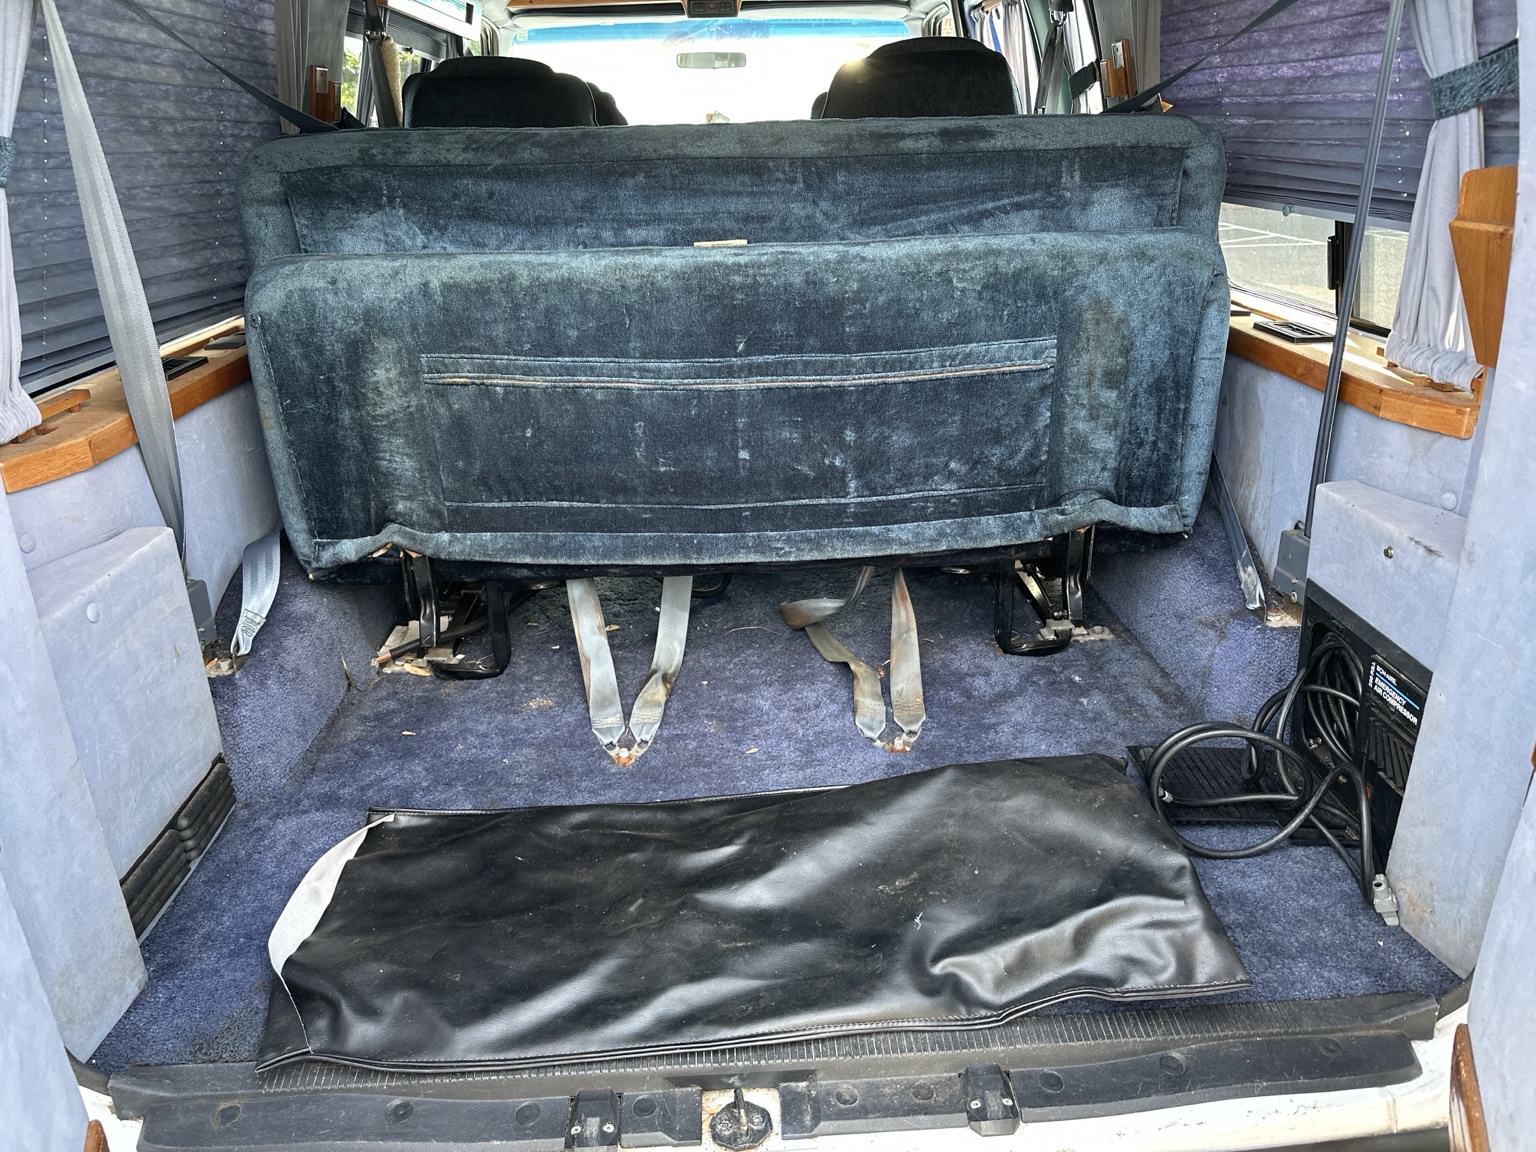
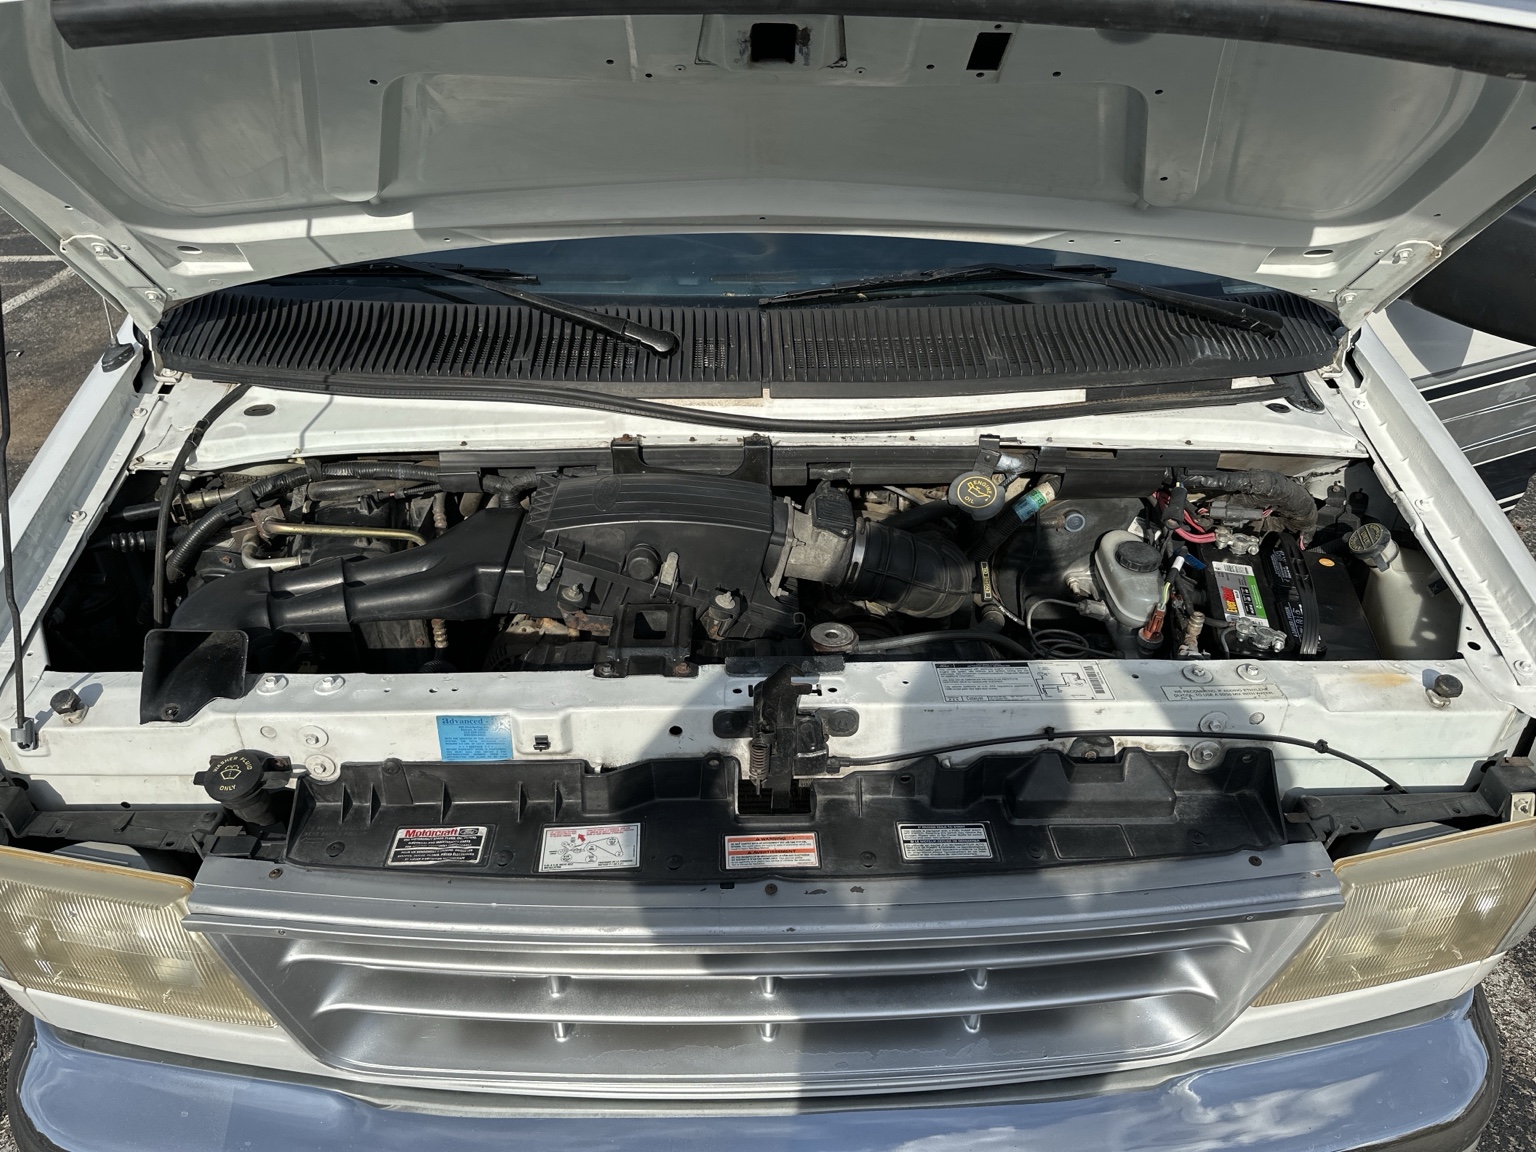
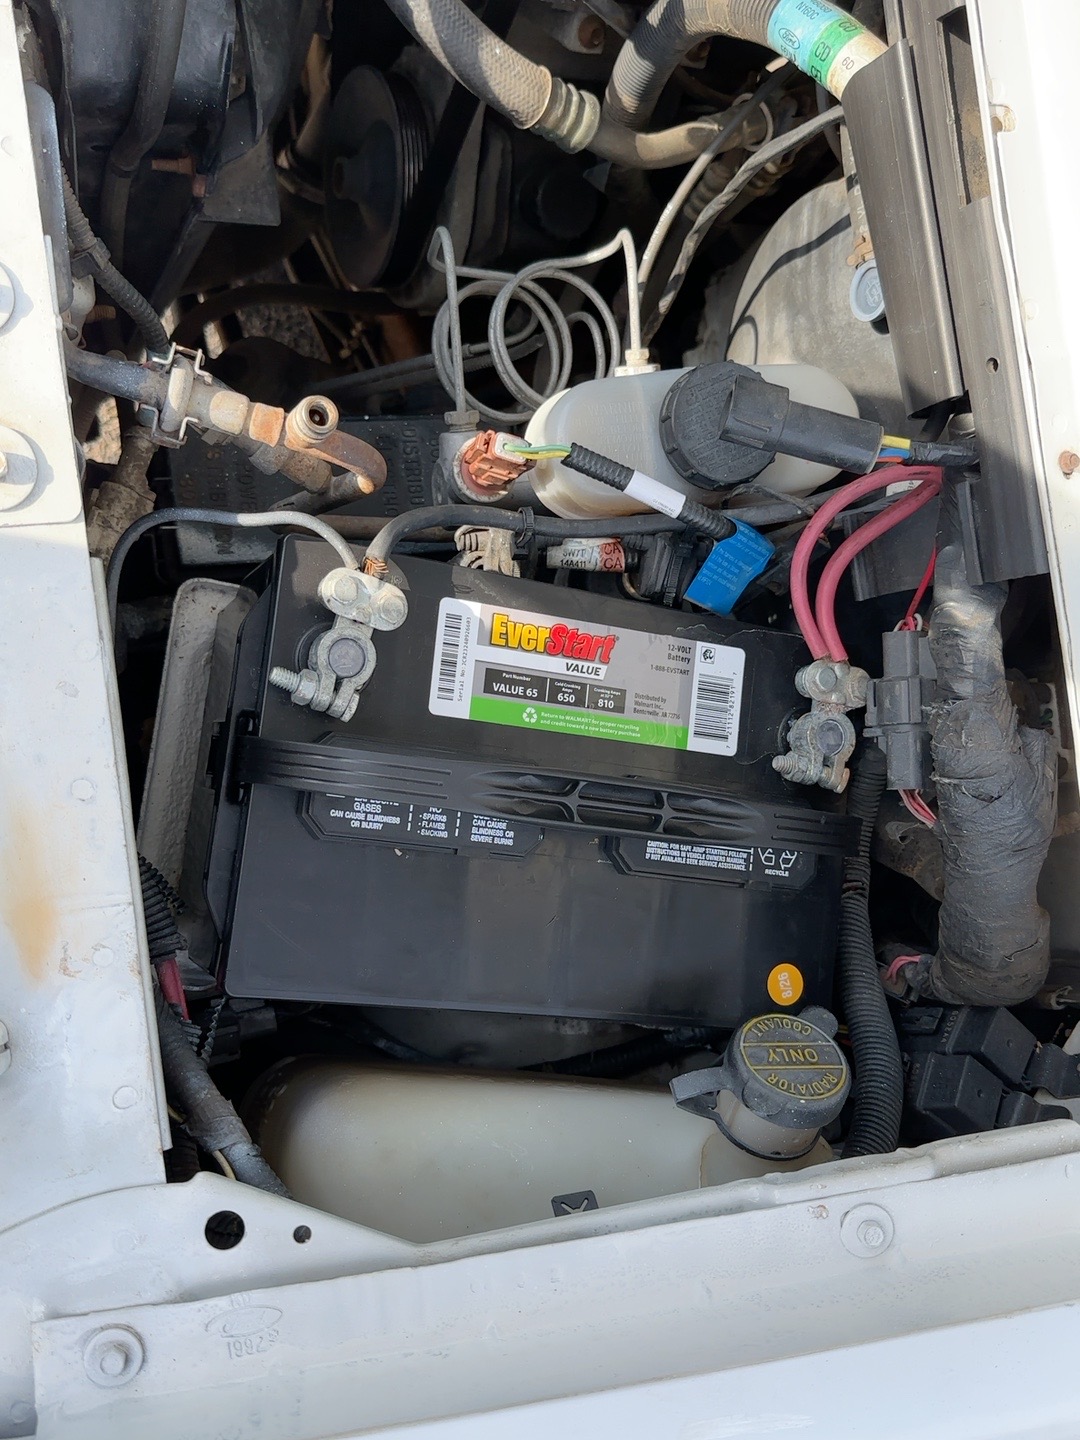
I confirmed there is no secondary house battery. The photos show the starter battery, the conversion fuse panel, a screened sliding section in the side window, and the rear sofa mechanism taking up some of the under-seat space. The built-in air compressor is another item to identify and test; I have not established that it works.
The TV, VHS player, and second radio show signs of power, but that has not translated into a working picture or sound. One door-operated light comes on; other cabin lights remain unresolved. I’m documenting the existing systems before deciding what stays.
Revised direction · Planned, not installed
Remove interior trim to understand the wiring and existing insulation, inspect for leaks and damage, and then select the insulation and replacement panels. Keep only the original components that suit the new layout.
Remove the TV and VHS player in favor of a small projector. Remove the second radio and replace the old interior lighting with modern LEDs once the supply problem is understood.
Explore fold-out tables built into replacement door panels and a swivel base for the original front passenger seat. Fit and engine-cover access are still to be checked. A simple removable toilet or bucket under a seat is an idea, not a finished installation.
The middle seating and rear bed layout still need measurements. The sofa mechanism limits storage beneath it; I need to measure its full travel before deciding whether to keep it or use a fixed platform.
Ventilation & power
Heat inside the van has made ventilation a priority. I have been comparing roof-fan options, including the MaxxFan Deluxe 7500K, but have not recorded a purchase or installation. The sliding screened window is useful to consider alongside the roof vent; roof structure and fit still need inspection.
A separate house battery, charging while driving, and solar remain the direction for camping power. The earlier 800-watt solar and 400 amp-hour battery figures were brainstorming, not selected equipment. Capacity will depend on the actual fan, fridge, projector, lights, and eventual connectivity loads.
I considered reusing the second radio’s wiring for a fridge. That remains unapproved: its source, wire size, condition, length, and protection have not been established. Existing accessory power does not prove fridge suitability.
Electrical investigation · Still open
I reported about 12.75 volts with the engine off and 13.5 volts running during the checks. Those are recorded readings, not a completed diagnosis of battery health, charging performance, or cabin ground quality. Initial fuse-voltage readings were inconclusive because the interior ground reference had not been established. The test light also failed its initial battery check.
Pulled fuses later read zero on the resistance setting, and one 5-amp fuse’s plastic housing came off during removal. Neither the visual inspection nor those checks identified the cause of the lighting fault. The photographed Elk manual is a reference, but the installed panel’s arrangement differs from its drawing; it is not a verified circuit map for this van.
This is a project record, not a repair procedure. No completed electrical repair, insulation installation, or house-power conversion is being claimed.
Build sequence
The original September 30 listing was $3,800 with close to 200,000 reported miles. Those remain listing figures, not a recorded purchase price or verified odometer reading.
Actual photos · Latest source notes
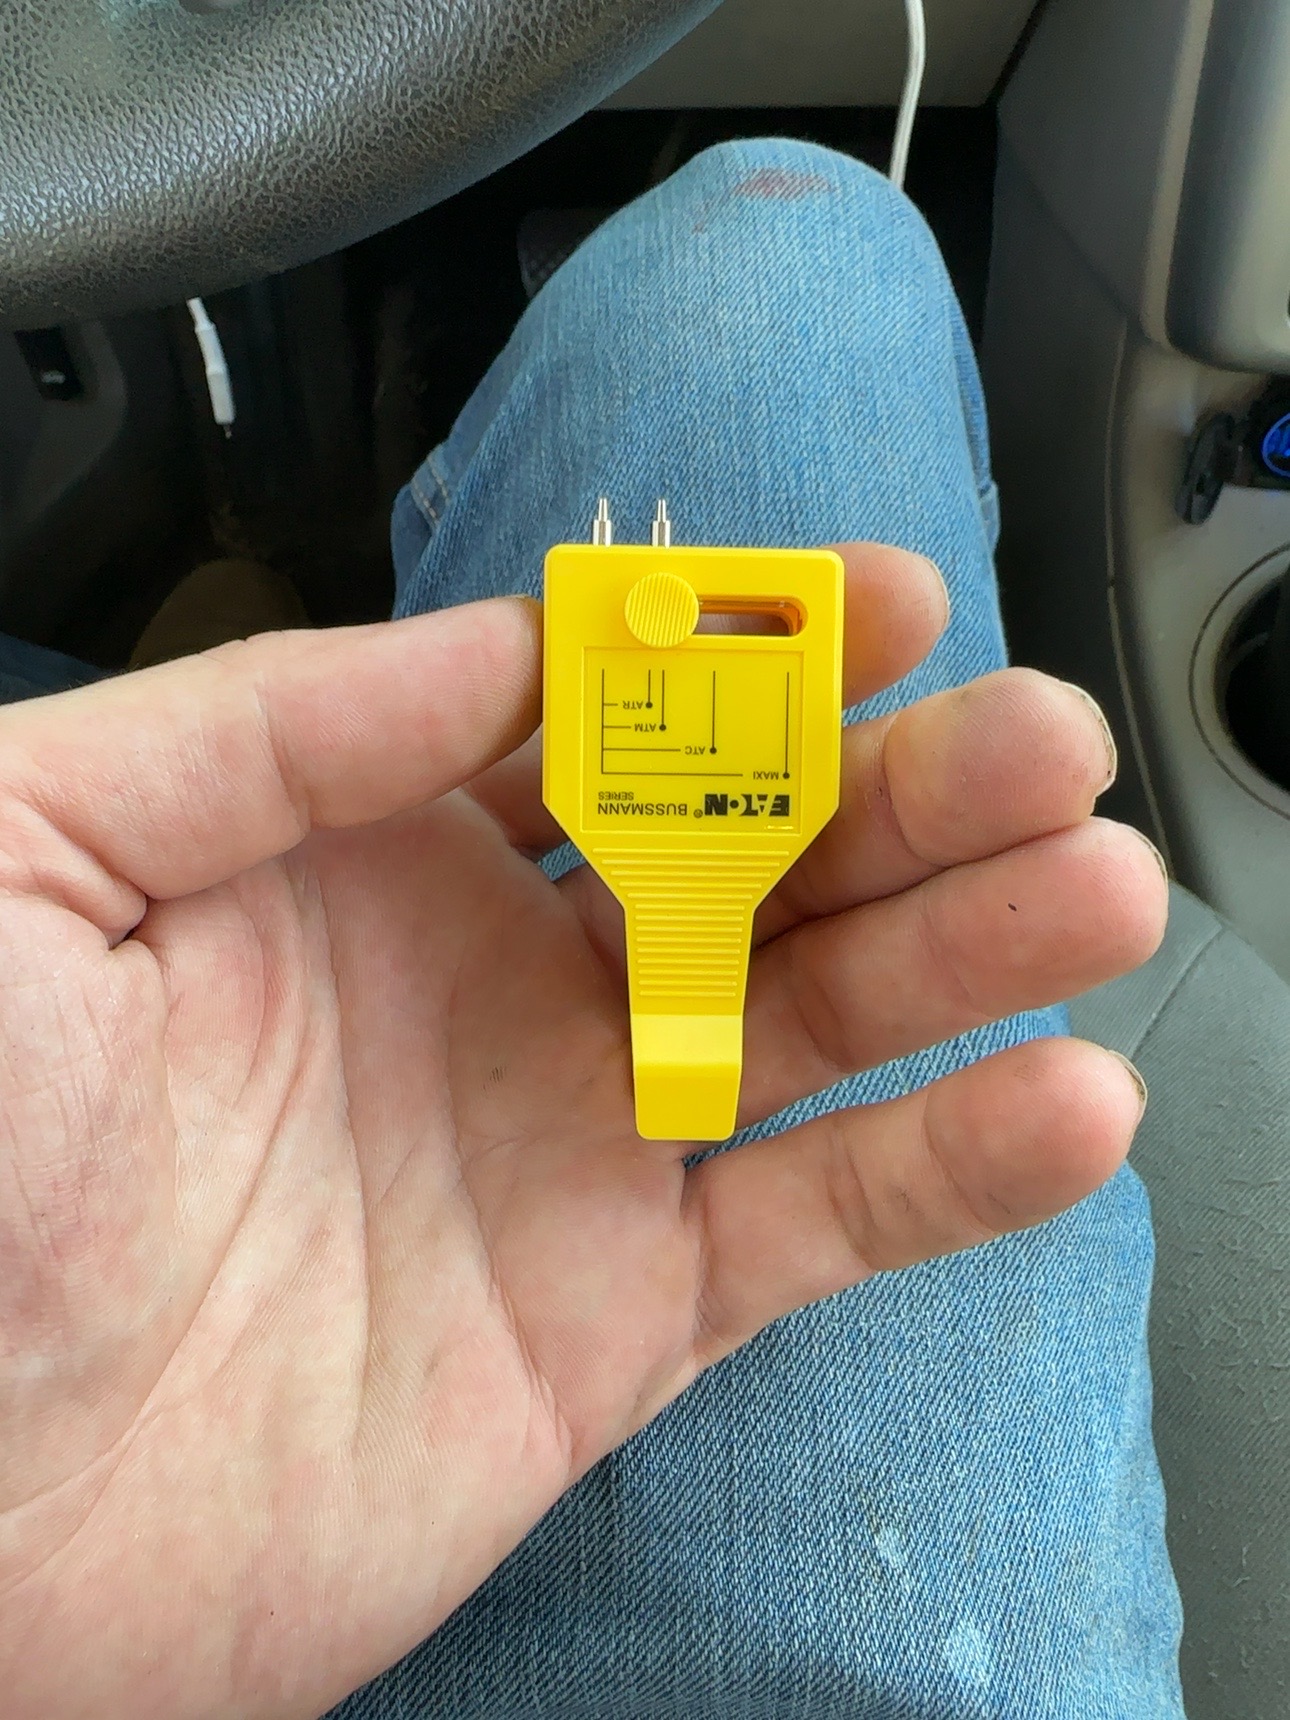
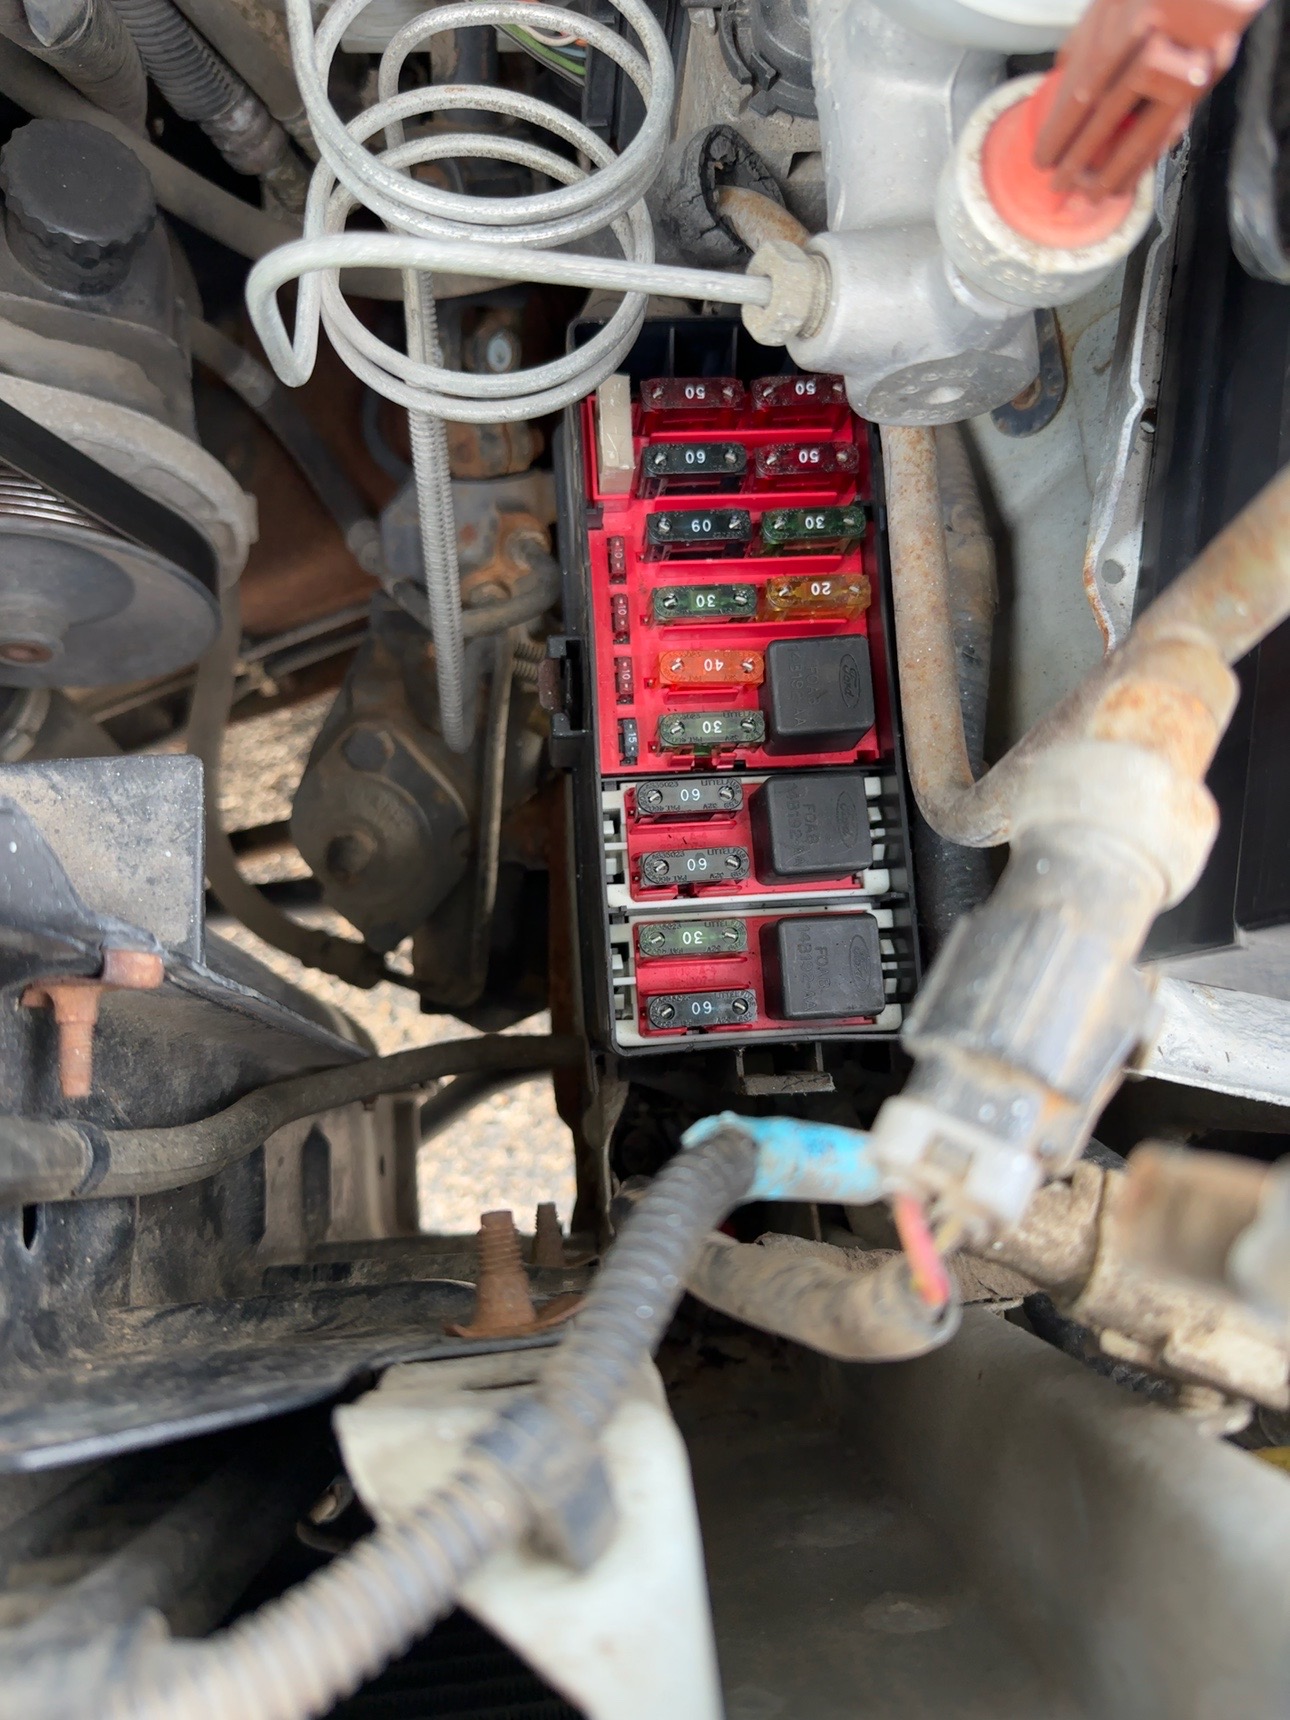
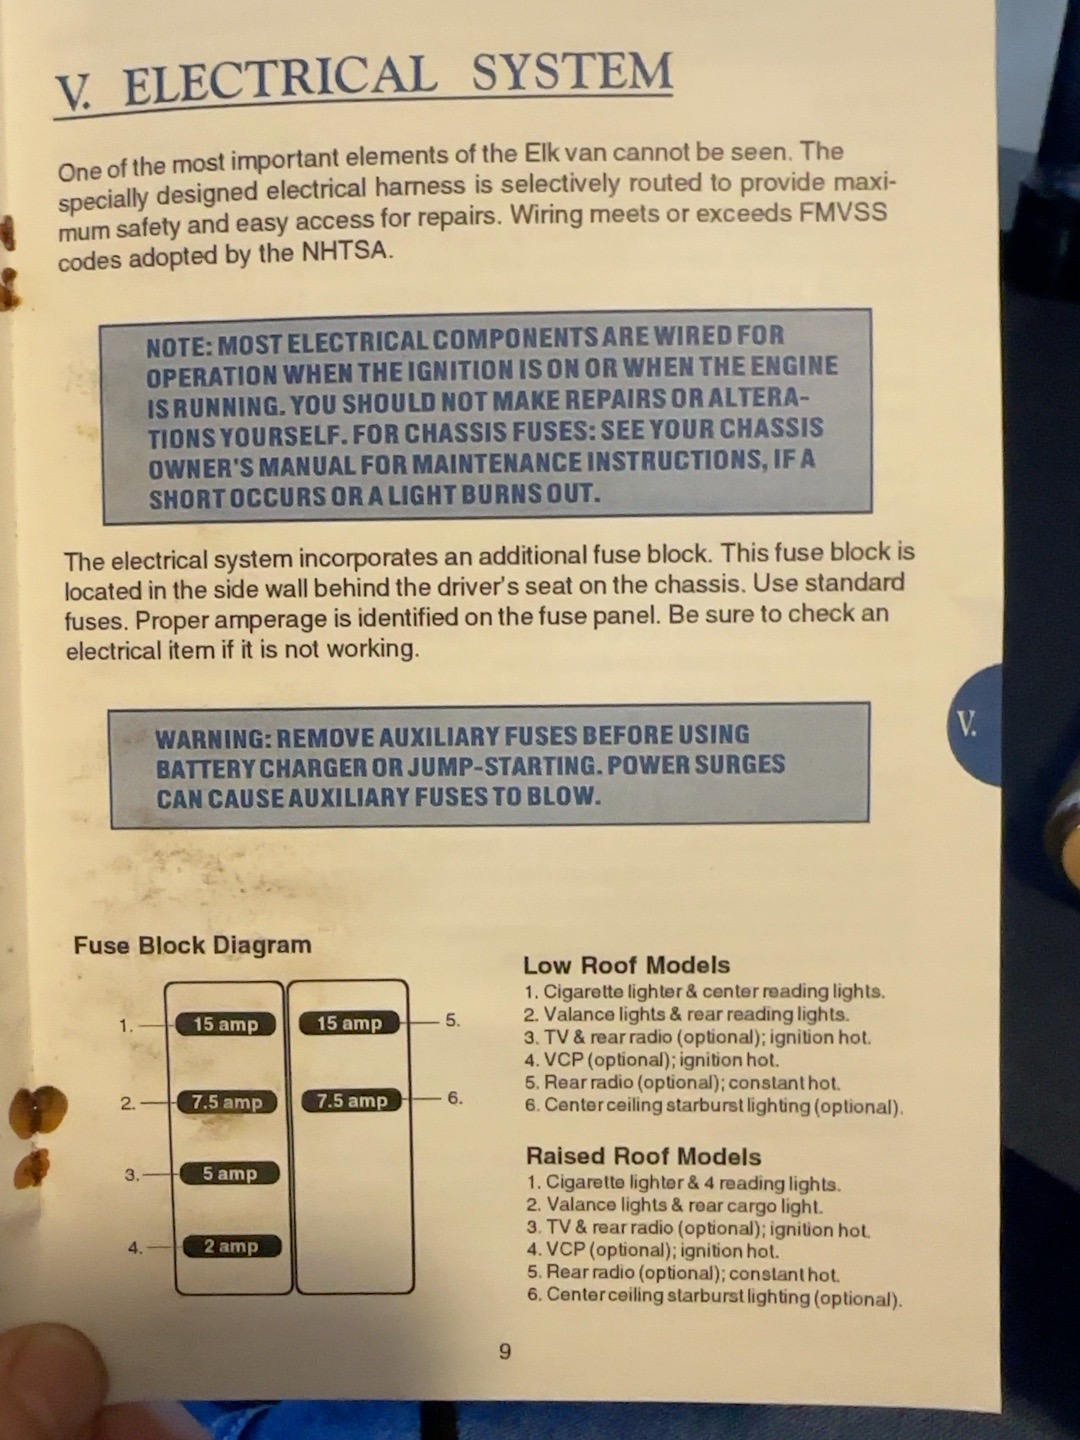

Images, specs & interactive planning
The original concept images and sofa/galley drawings below predate the October 1 rebuild direction. They are retained as earlier ideas, not the current finished design. The concept images are AI-generated; furniture sizes, roof fit, and electrical capacity still need verification in the van.
Open the interactive 3D studio · Read the planning specs · Download the blueprint PDF · Download the public source pack
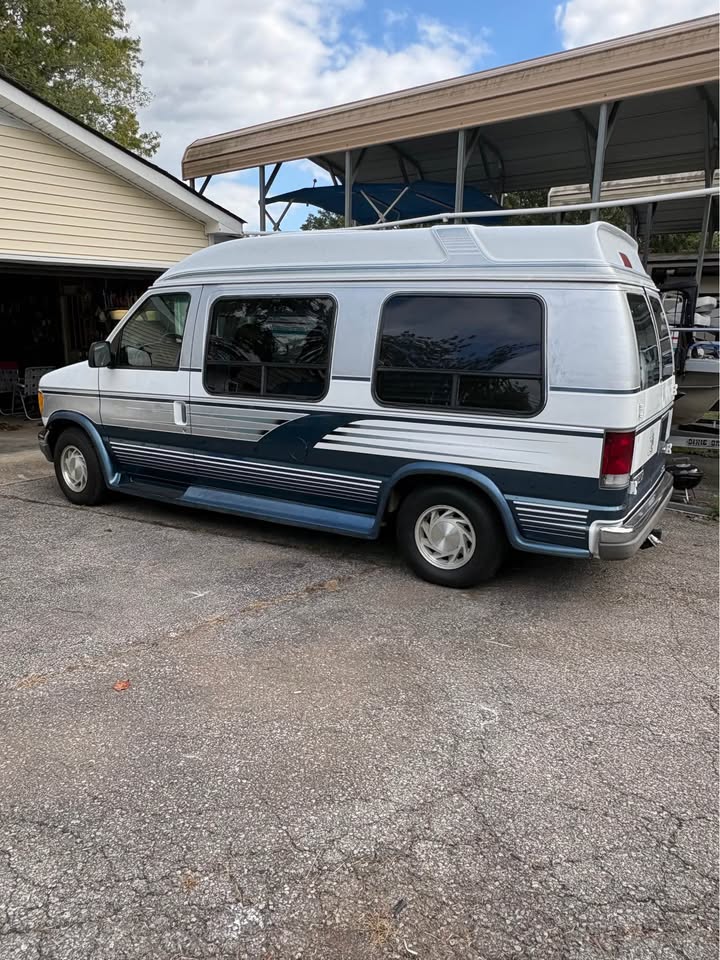
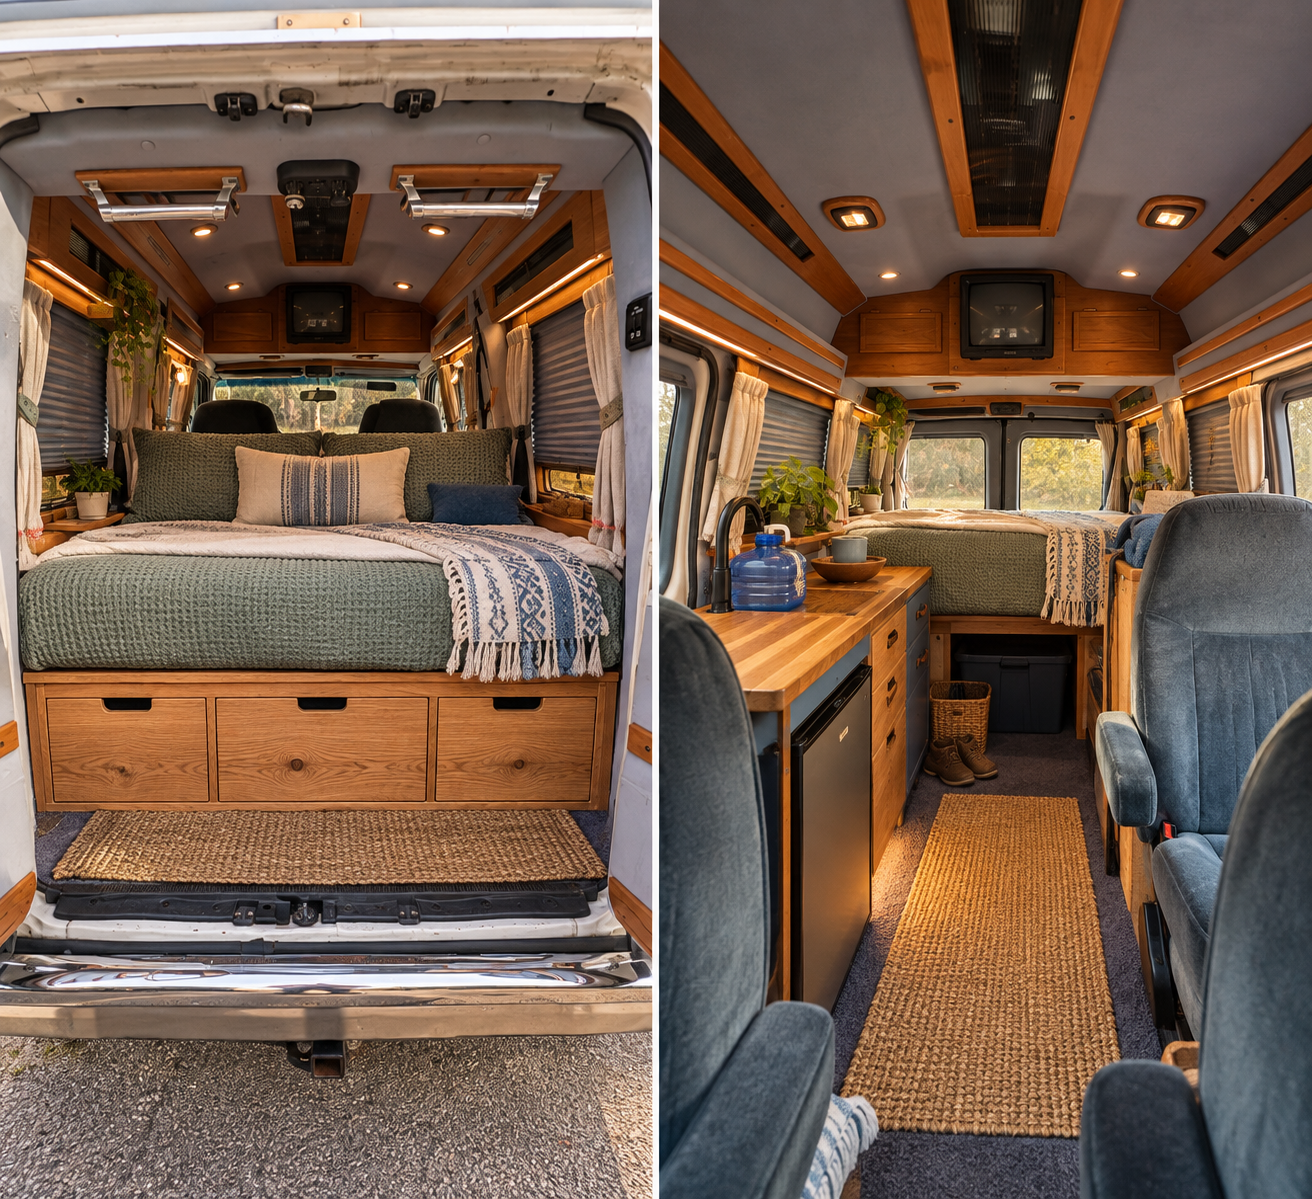
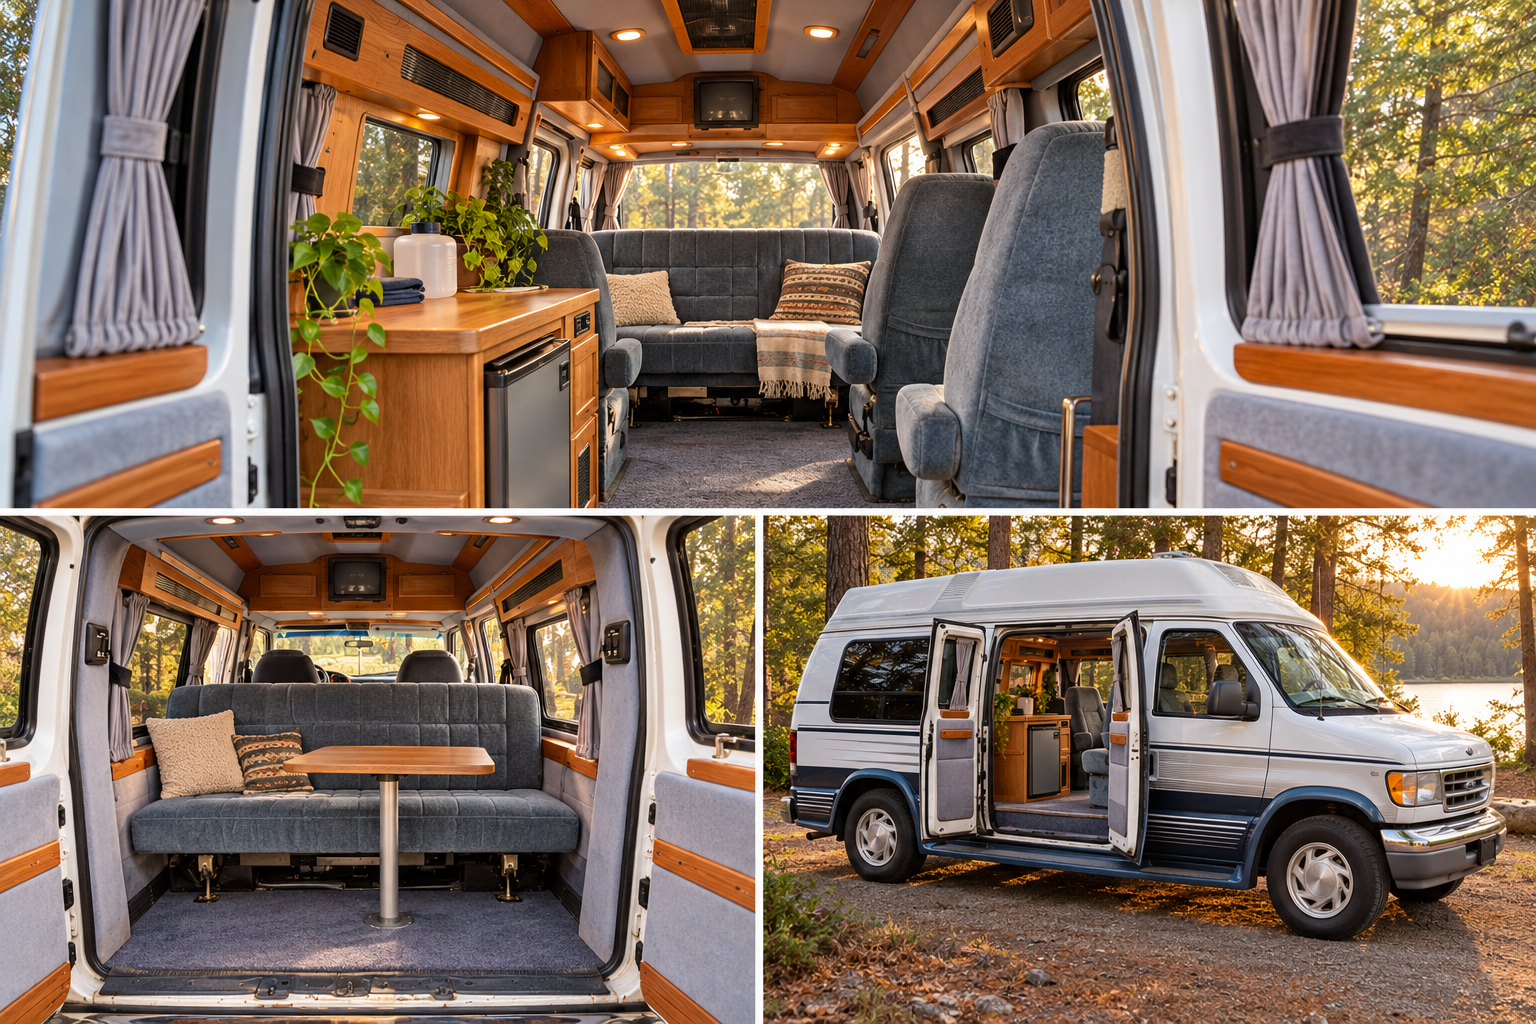
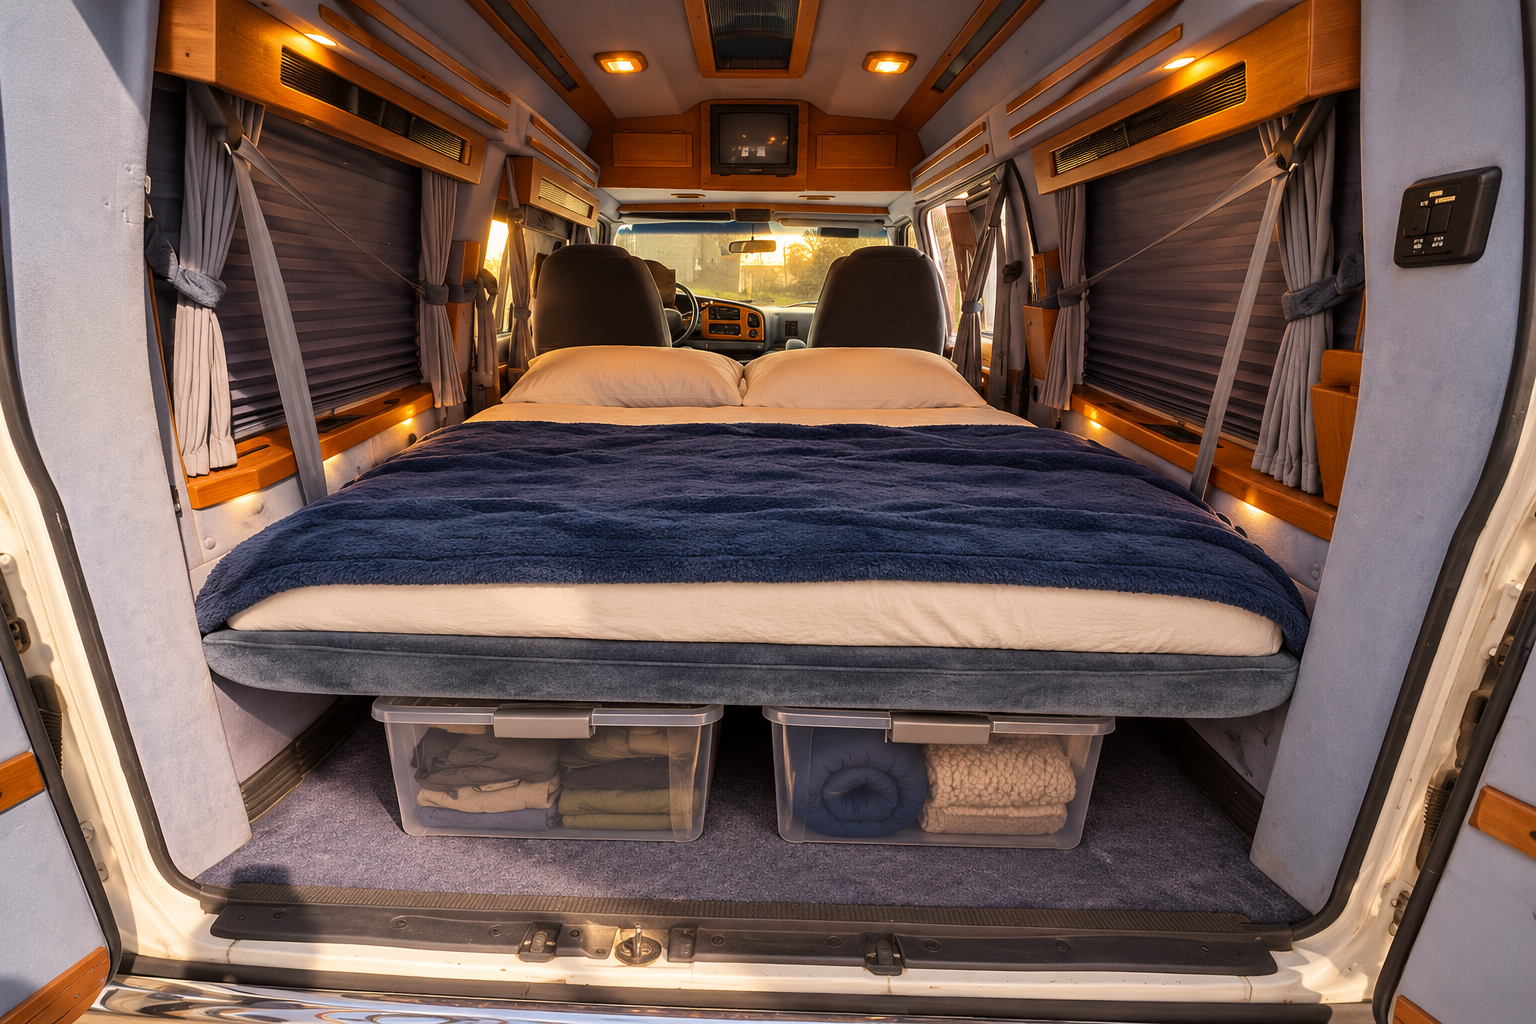
The public pack includes these images, planning specs, and an offline copy of the studio. Layout changes save in your browser; use Download layout in the studio to keep a separate copy.
Proposed plans · Added October 3, 2026
A possible way to reuse the seat-base area: a removable-fridge platform with battery storage underneath. These are two proposed finishes, not a final design or completed build.
Planning estimate: 26 inches wide × 22 inches deep × 14–16 inches cabinet height. The fridge adds height above that. Measure the actual base, chosen fridge and batteries, lid-opening space, ventilation clearances, and mounting before treating these as build dimensions. The images do not confirm battery capacity, fit, or a wiring design.
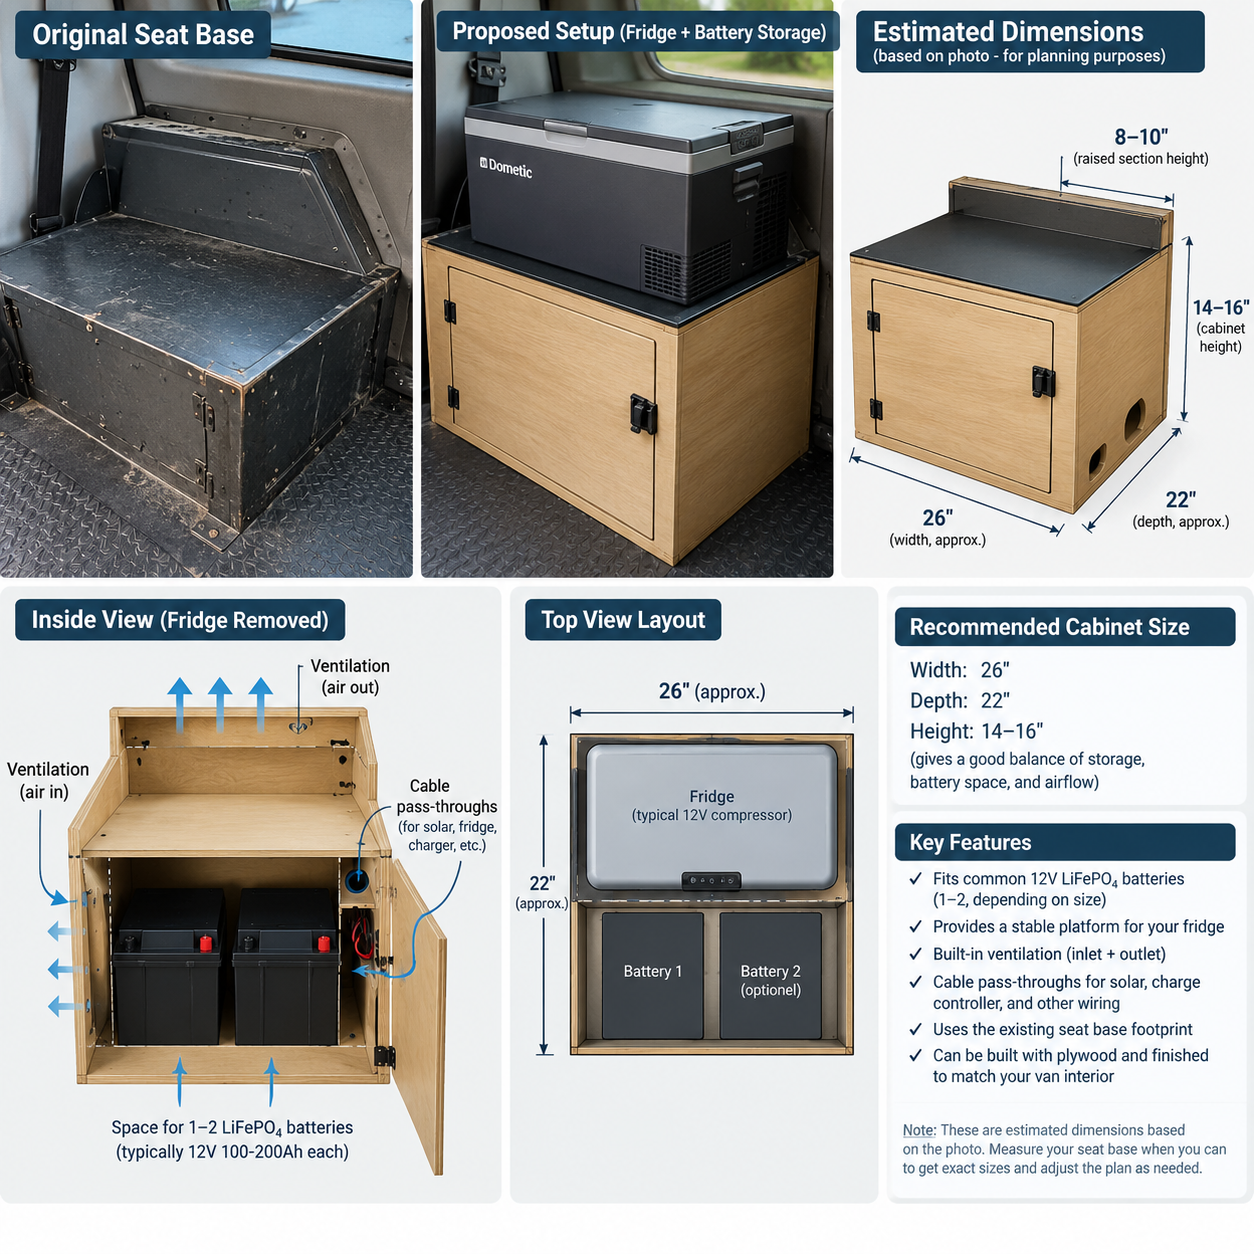
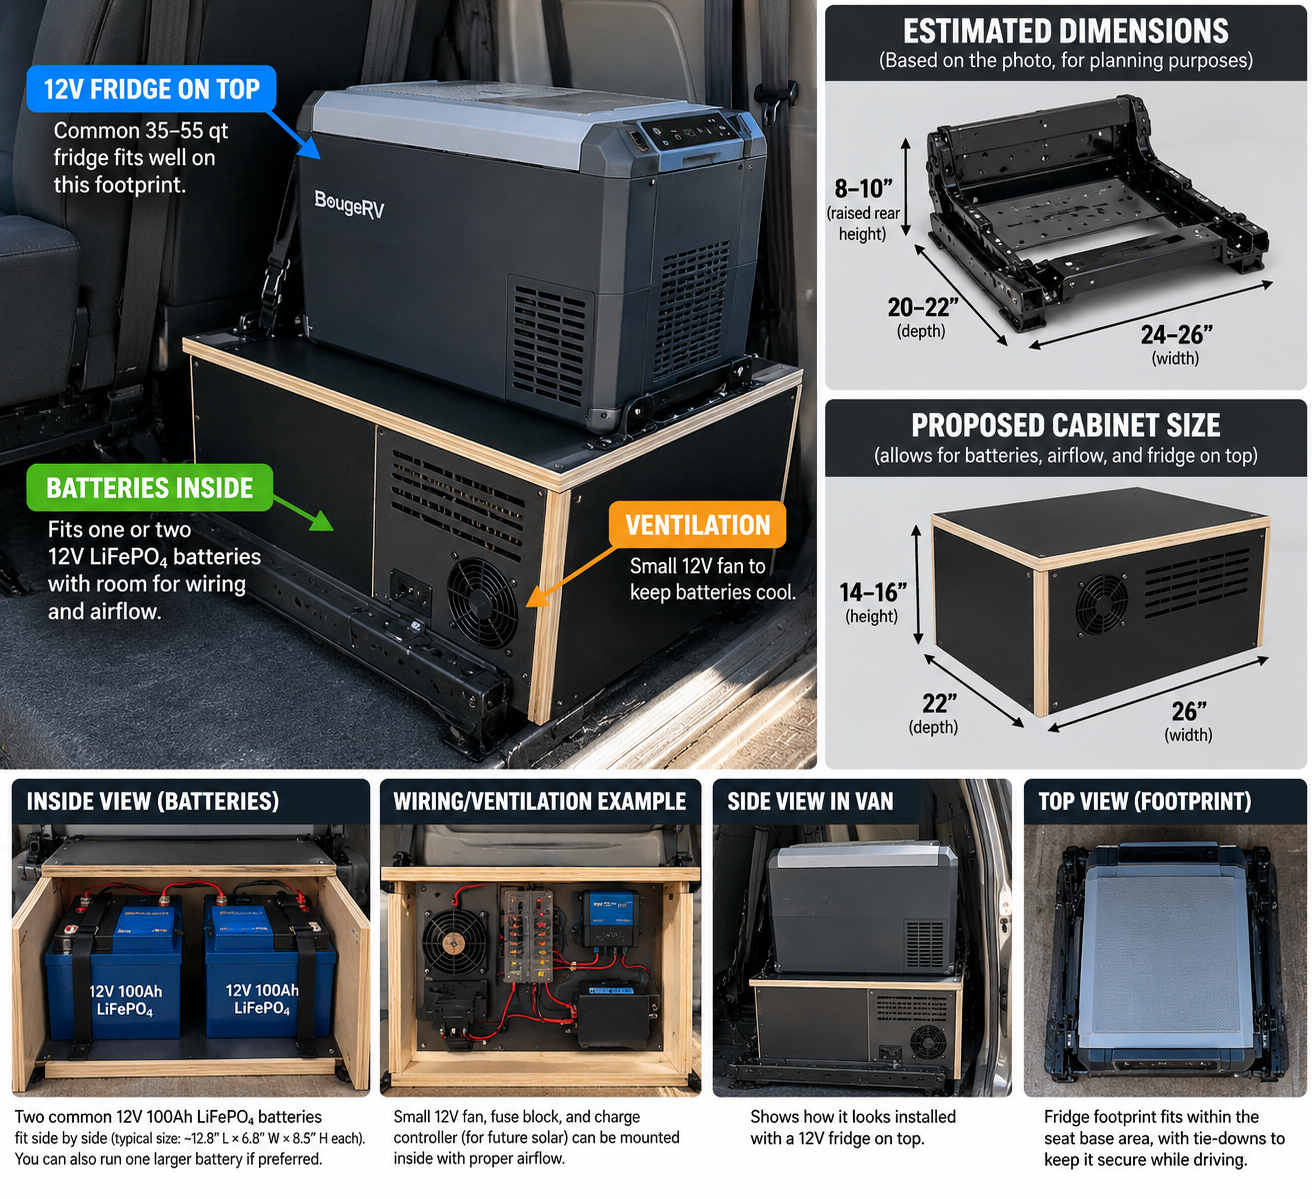
Nothing is decided. This option joins the earlier wood and black cabinet ideas; it does not replace them.
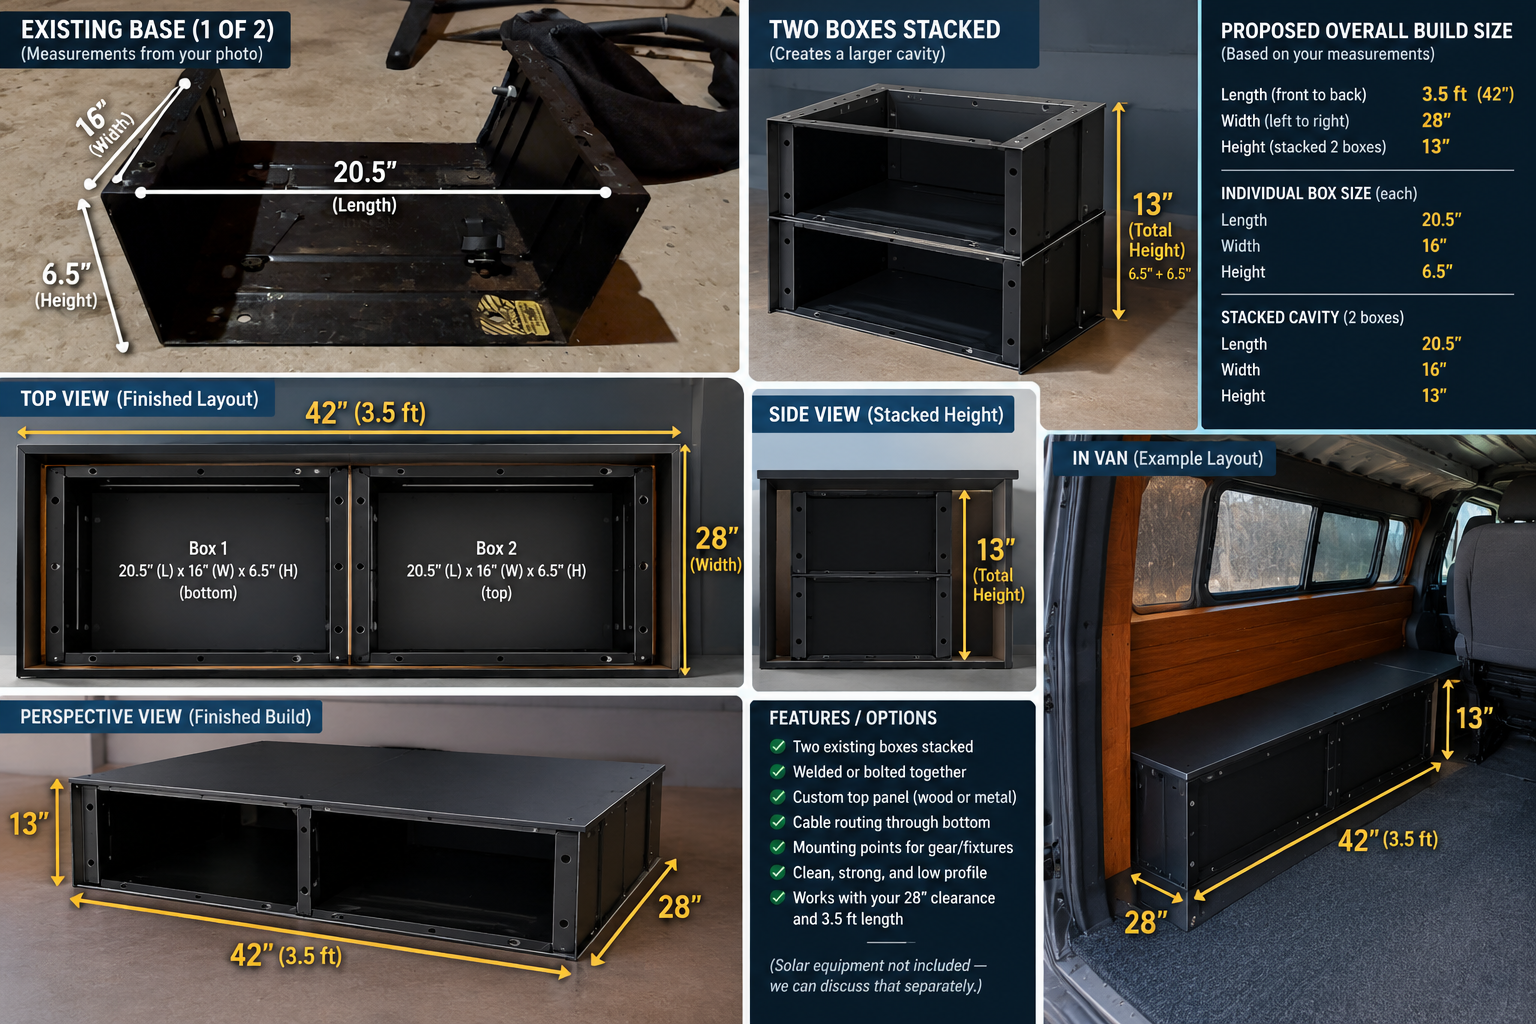
The supplied base measurements are 20.5″ long × 16″ wide × 6.5″ high. Two vertically stacked bases would have the same footprint and a nominal 13″ combined height. The separate 42″ front-to-back × 28″ left-to-right platform is a proposed larger envelope requiring additional support; stacking alone does not create that footprint. Top thickness, clearances, mounting and actual usable cavity dimensions remain unresolved.
The fridge, batteries, solar equipment, finish and final arrangement are undecided. The illustration’s equipment-fit and strength claims have not been established.