The first idea was to preserve most of the Elk interior. After spending time inspecting the van, I’m planning a more substantial rebuild: insulation, modern lighting, a small projector, and separate camping power. Here is what I have observed, what has changed, and what remains unresolved.
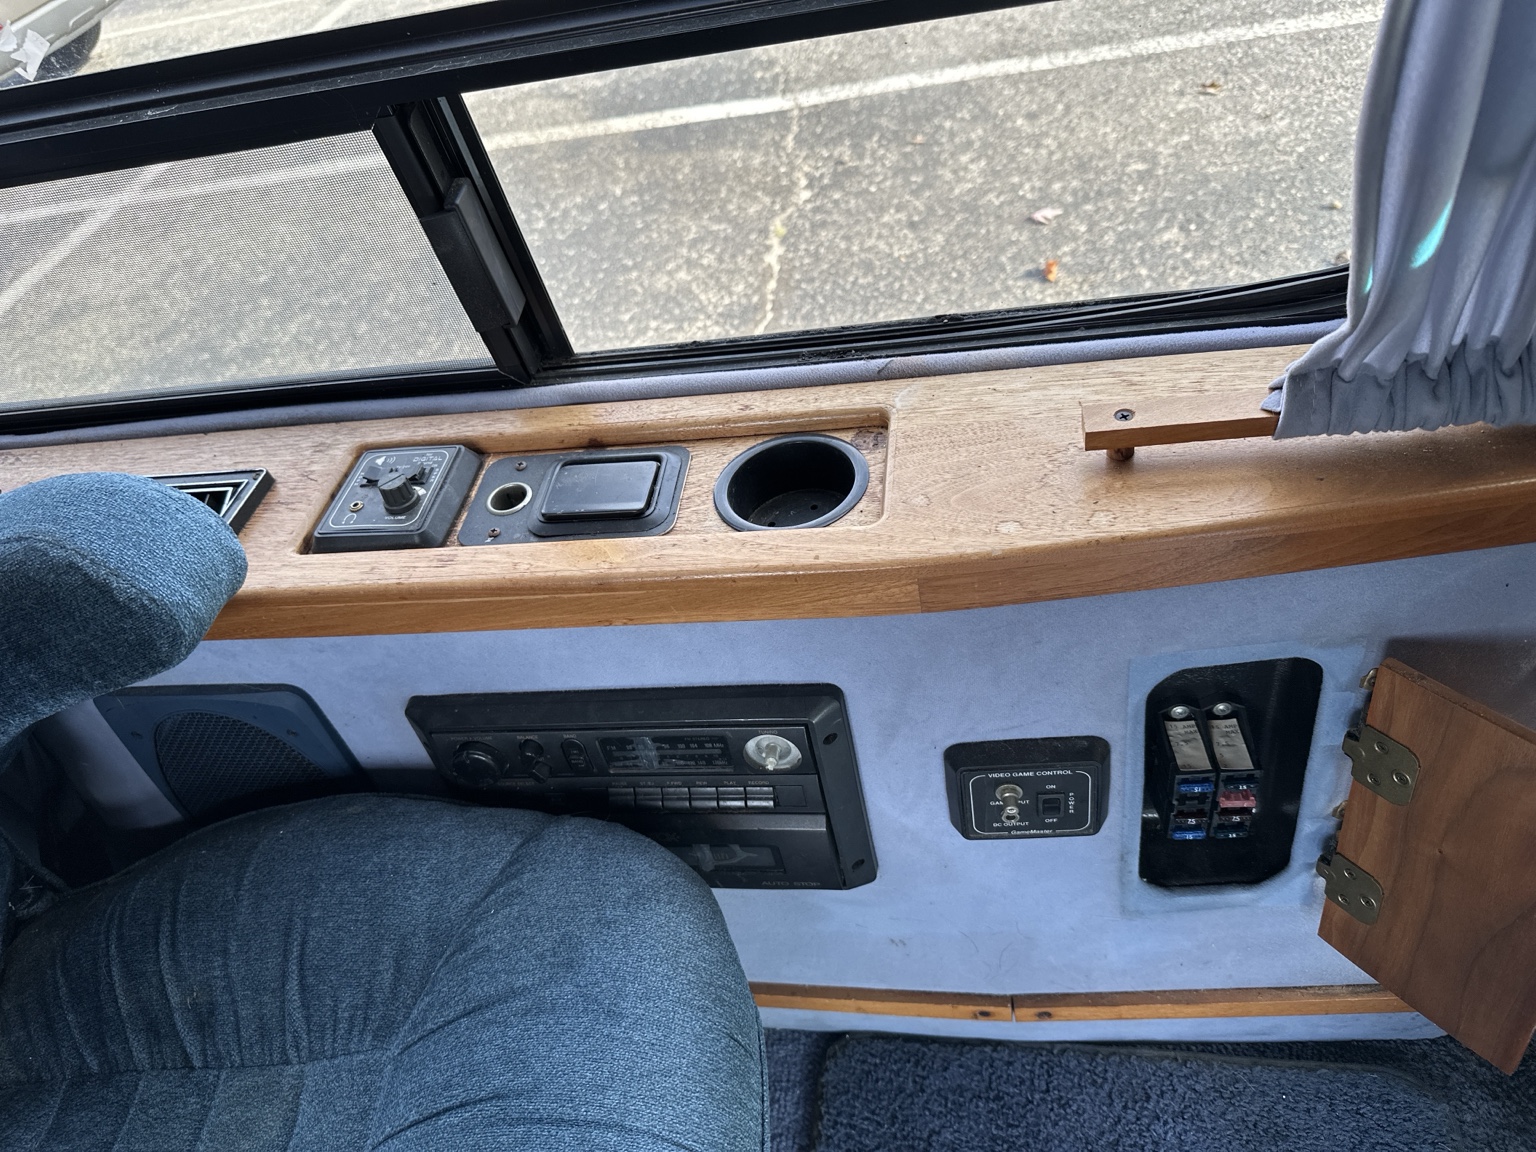
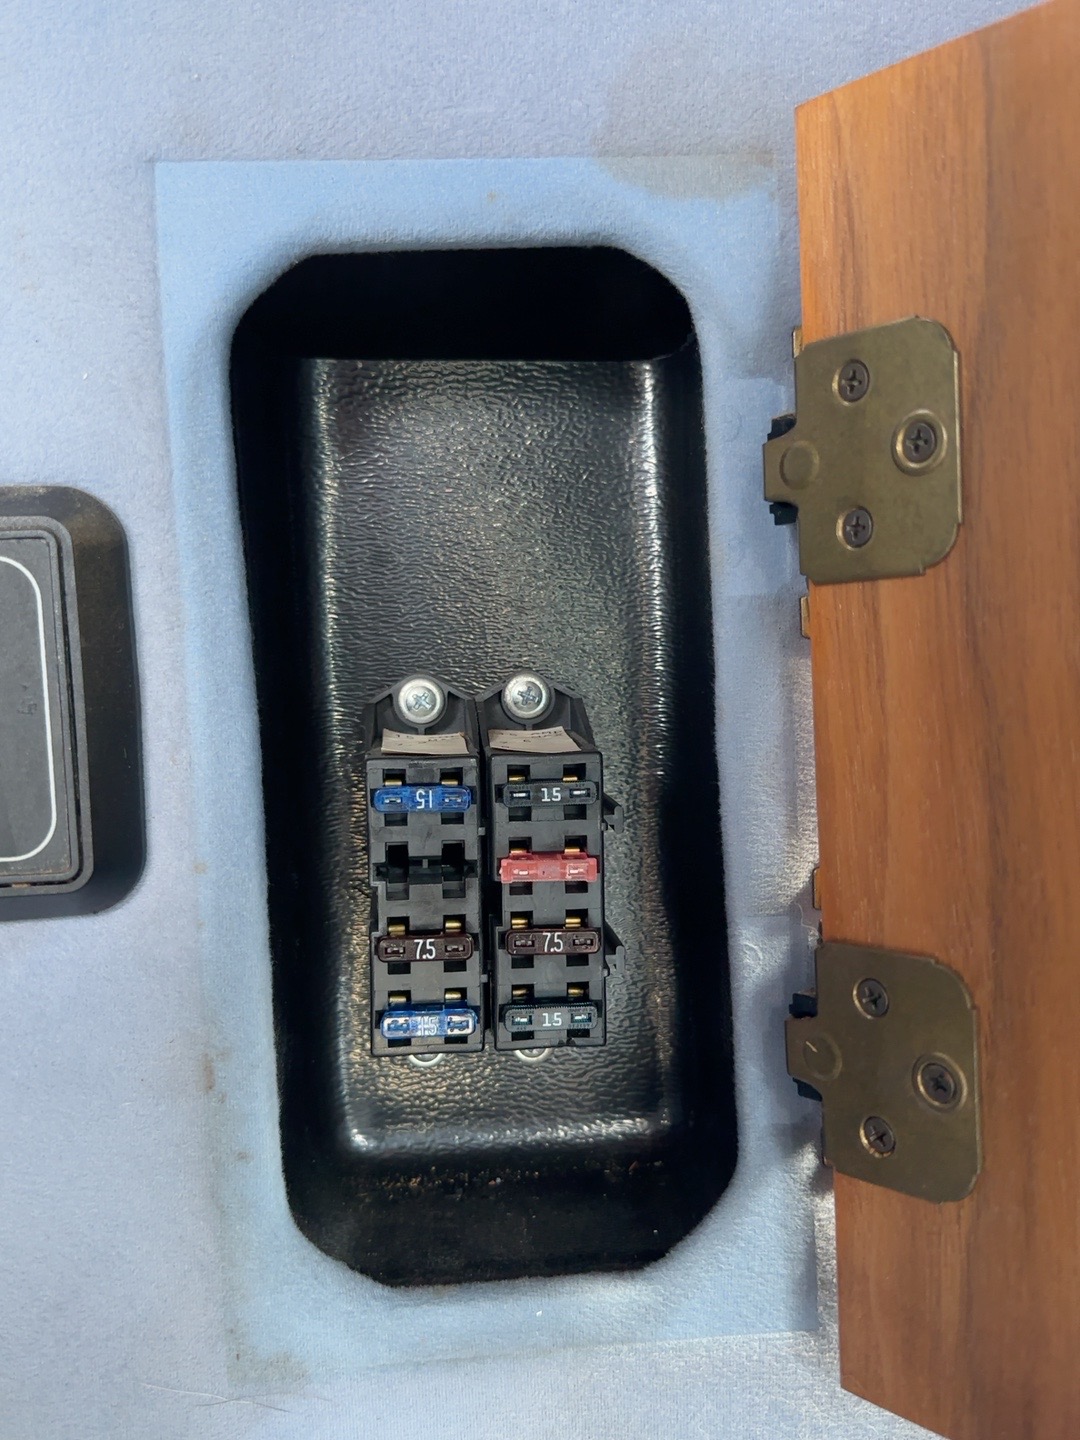
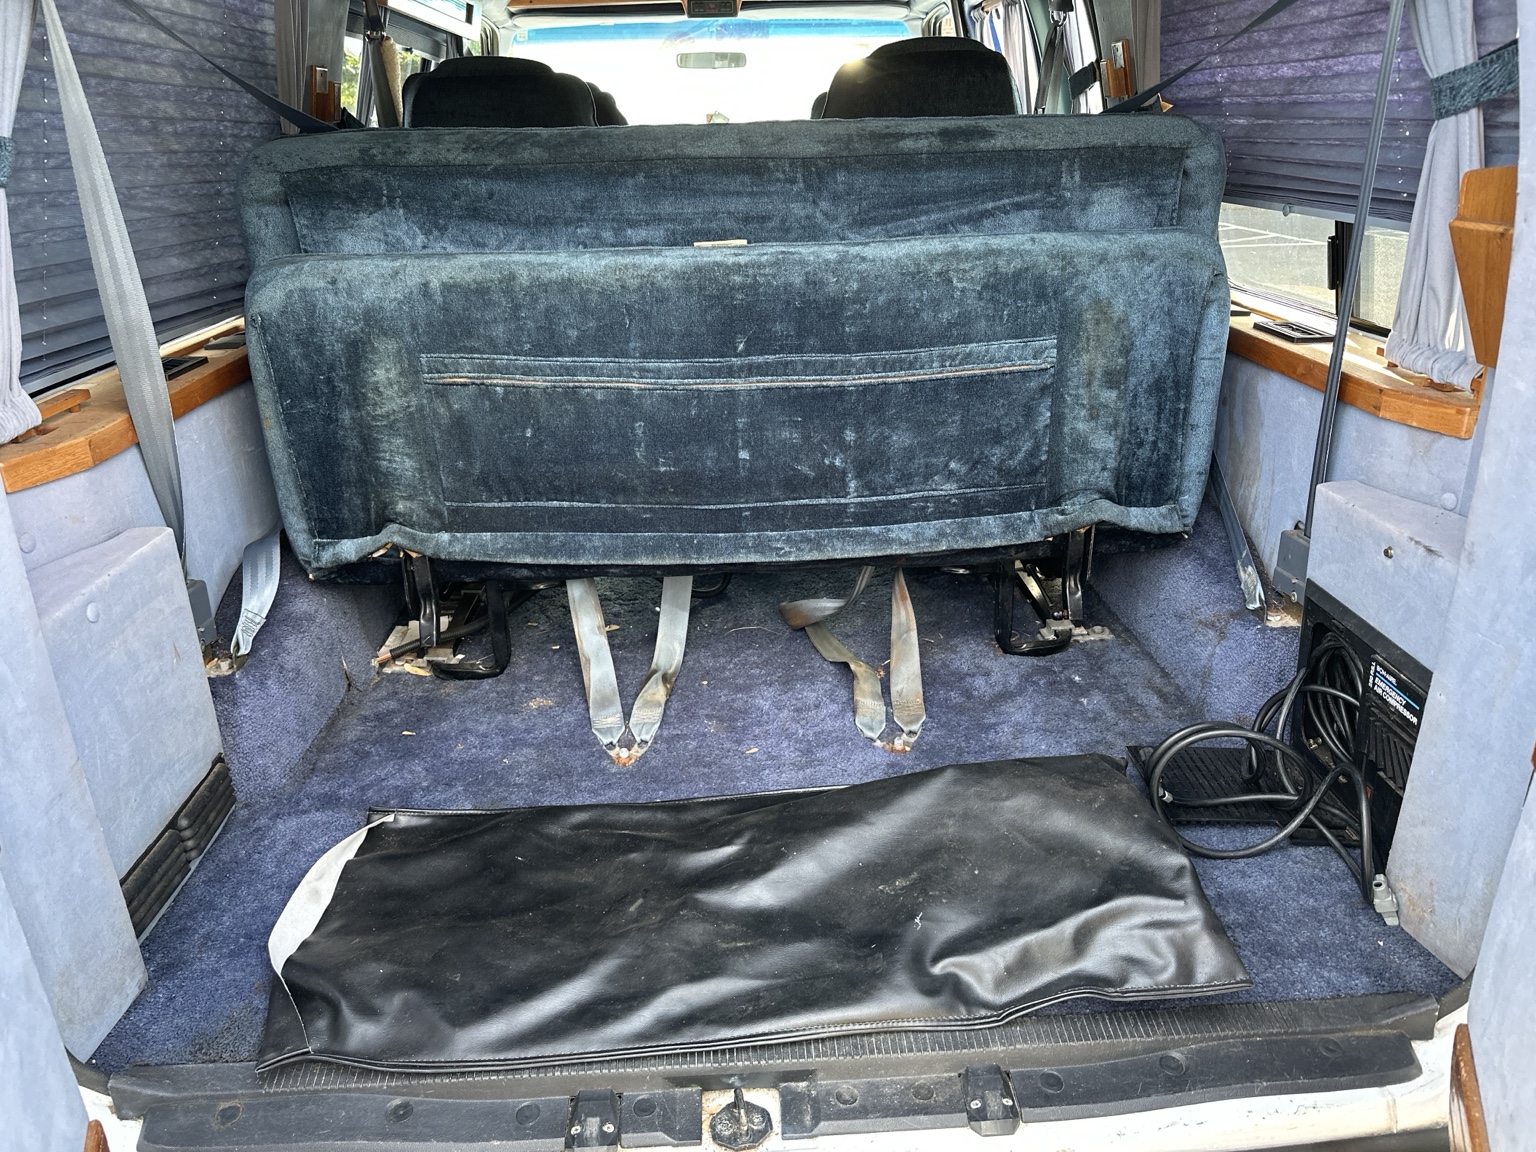
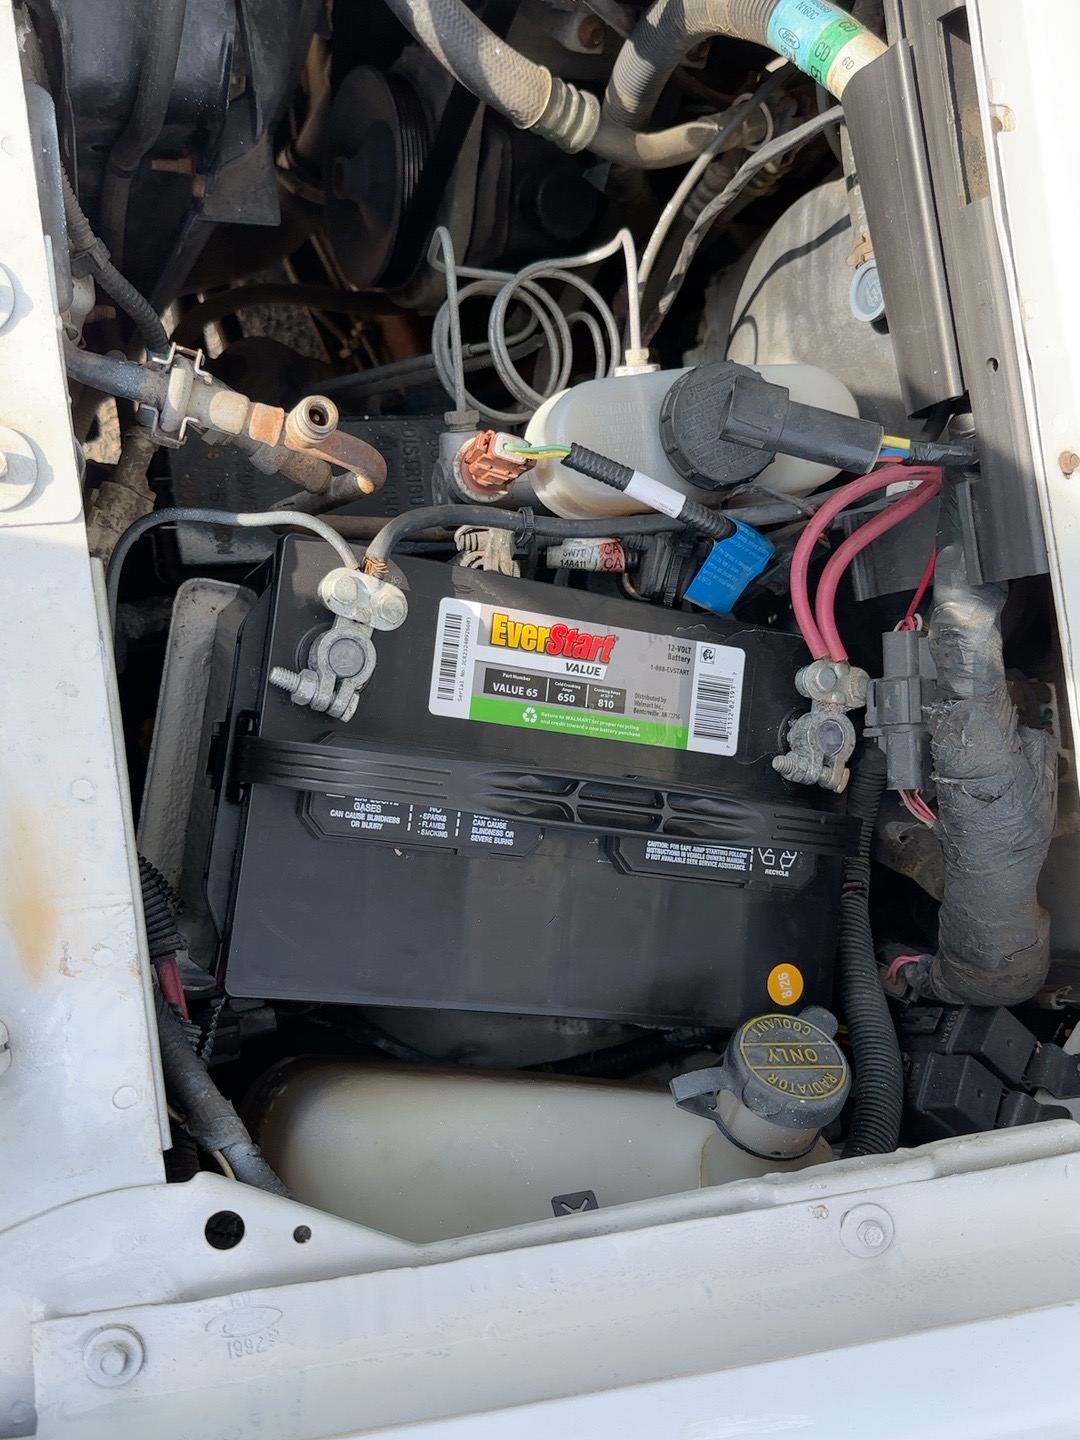
I confirmed there is no secondary house battery. The photos show the starter battery, the conversion fuse panel, a screened sliding section in the side window, and the rear sofa mechanism taking up some of the under-seat space. The built-in air compressor is another item to identify and test; I have not established that it works.
The TV, VHS player, and second radio show signs of power, but that has not translated into a working picture or sound. One door-operated light comes on; other cabin lights remain unresolved. I’m documenting the existing systems before deciding what stays.
Revised direction · Planned, not installed
A more substantial interior rebuild.
01 · INTERIOR
Inspect, insulate, rebuild
Remove interior trim to understand the wiring and existing insulation, inspect for leaks and damage, and then select the insulation and replacement panels. Keep only the original components that suit the new layout.
02 · MEDIA & LIGHT
Projector and LEDs
Remove the TV and VHS player in favor of a small projector. Remove the second radio and replace the old interior lighting with modern LEDs once the supply problem is understood.
03 · USEFUL SPACE
Tables and flexible seating
Explore fold-out tables built into replacement door panels and a swivel base for the original front passenger seat. Fit and engine-cover access are still to be checked. A simple removable toilet or bucket under a seat is an idea, not a finished installation.
The middle seating and rear bed layout still need measurements. The sofa mechanism limits storage beneath it; I need to measure its full travel before deciding whether to keep it or use a fixed platform.
Ventilation & power
Plan the fan, fridge, and house system together.
Heat inside the van has made ventilation a priority. I have been comparing roof-fan options, including the MaxxFan Deluxe 7500K, but have not recorded a purchase or installation. The sliding screened window is useful to consider alongside the roof vent; roof structure and fit still need inspection.
A separate house battery, charging while driving, and solar remain the direction for camping power. The earlier 800-watt solar and 400 amp-hour battery figures were brainstorming, not selected equipment. Capacity will depend on the actual fan, fridge, projector, lights, and eventual connectivity loads.
I considered reusing the second radio’s wiring for a fridge. That remains unapproved: its source, wire size, condition, length, and protection have not been established. Existing accessory power does not prove fridge suitability.
Electrical investigation · Still open
The lights are not fixed yet.
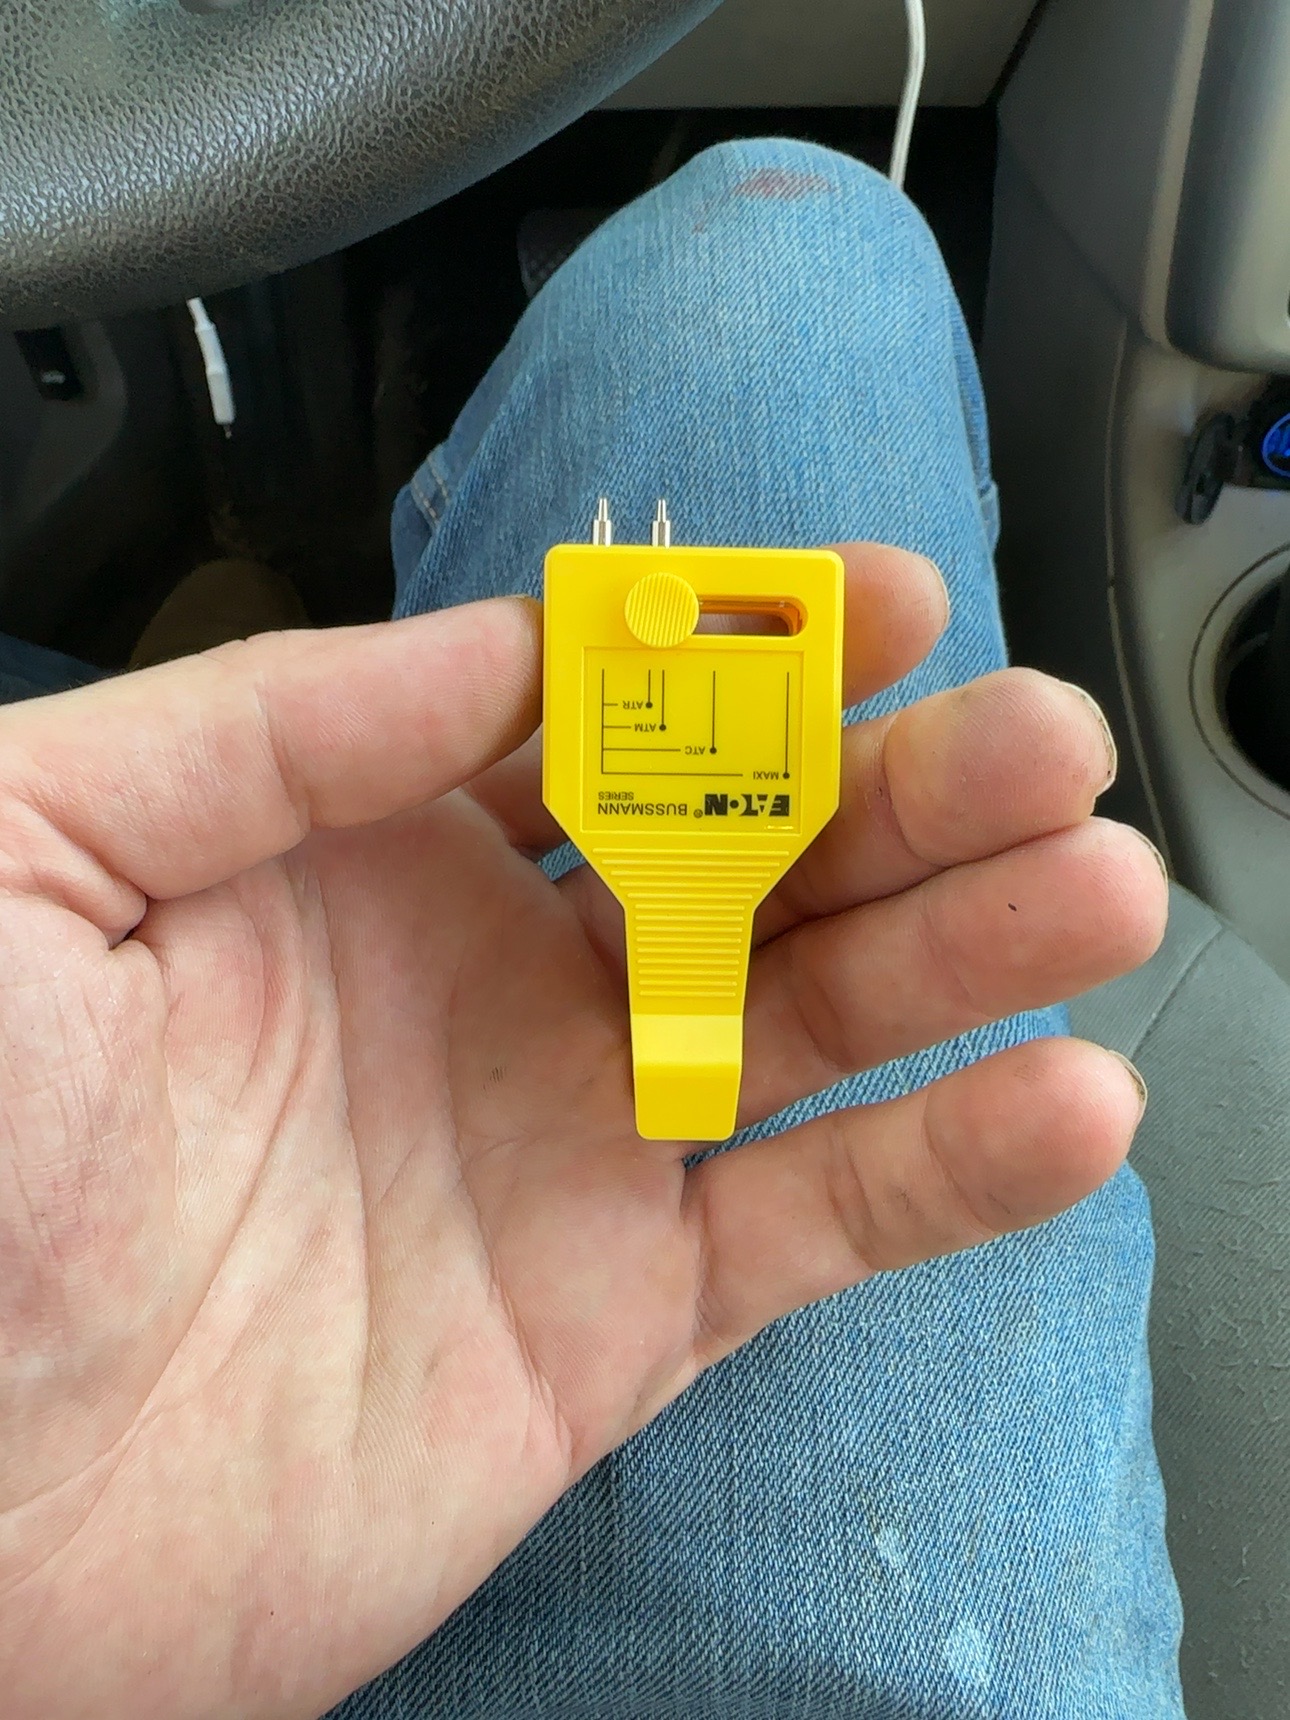
I reported about 12.75 volts with the engine off and 13.5 volts running during the checks. Those are recorded readings, not a completed diagnosis of battery health, charging performance, or cabin ground quality. Initial fuse-voltage readings were inconclusive because the interior ground reference had not been established. The test light also failed its initial battery check.
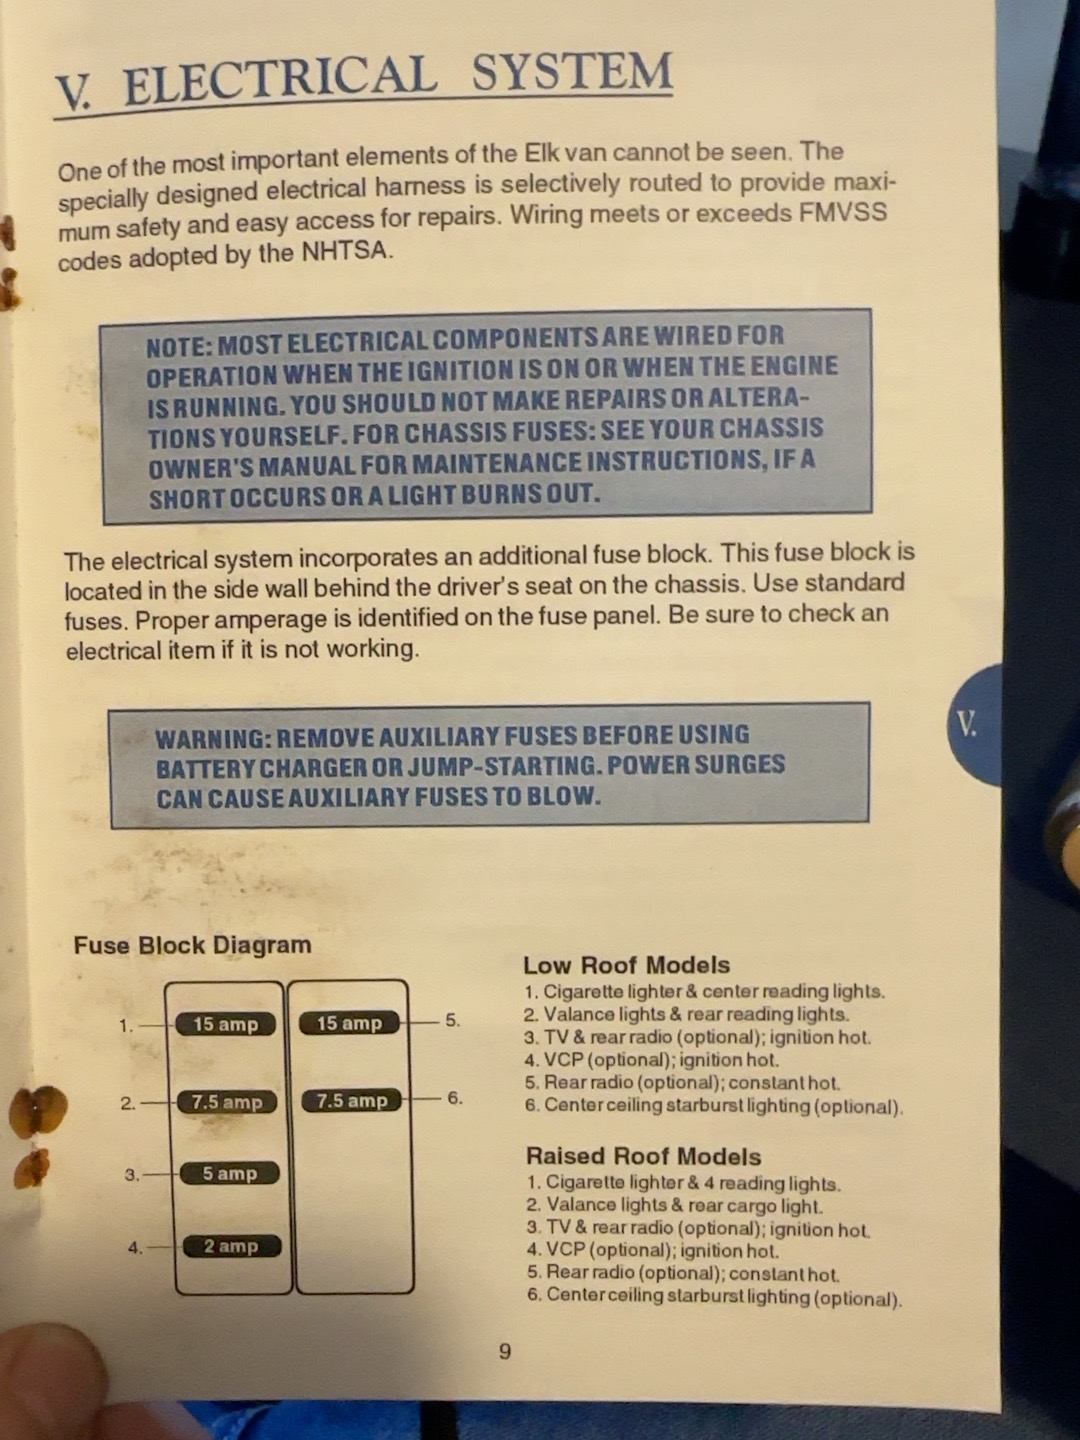
Pulled fuses later read zero on the resistance setting, and one 5-amp fuse’s plastic housing came off during removal. Neither the visual inspection nor those checks identified the cause of the lighting fault. The photographed Elk manual is a reference, but the installed panel’s arrangement differs from its drawing; it is not a verified circuit map for this van.
This is a project record, not a repair procedure. No completed electrical repair, insulation installation, or house-power conversion is being claimed.
Build sequence
Document first, then make the pieces work together.
Photograph and identify the existing accessories, wiring, and mounts.
Open the interior for inspection and resolve any leaks or damage found.
Measure the bed, aisle, roof, doors, and engine-cover access; plan the fan, furniture, and cable routes together.
Choose insulation and house-power equipment from the measurements and appliance requirements.
Rebuild, connect, and test each system before calling it finished.
The original September 30 listing was $3,800 with close to 200,000 reported miles. Those remain listing figures, not a recorded purchase price or verified odometer reading.
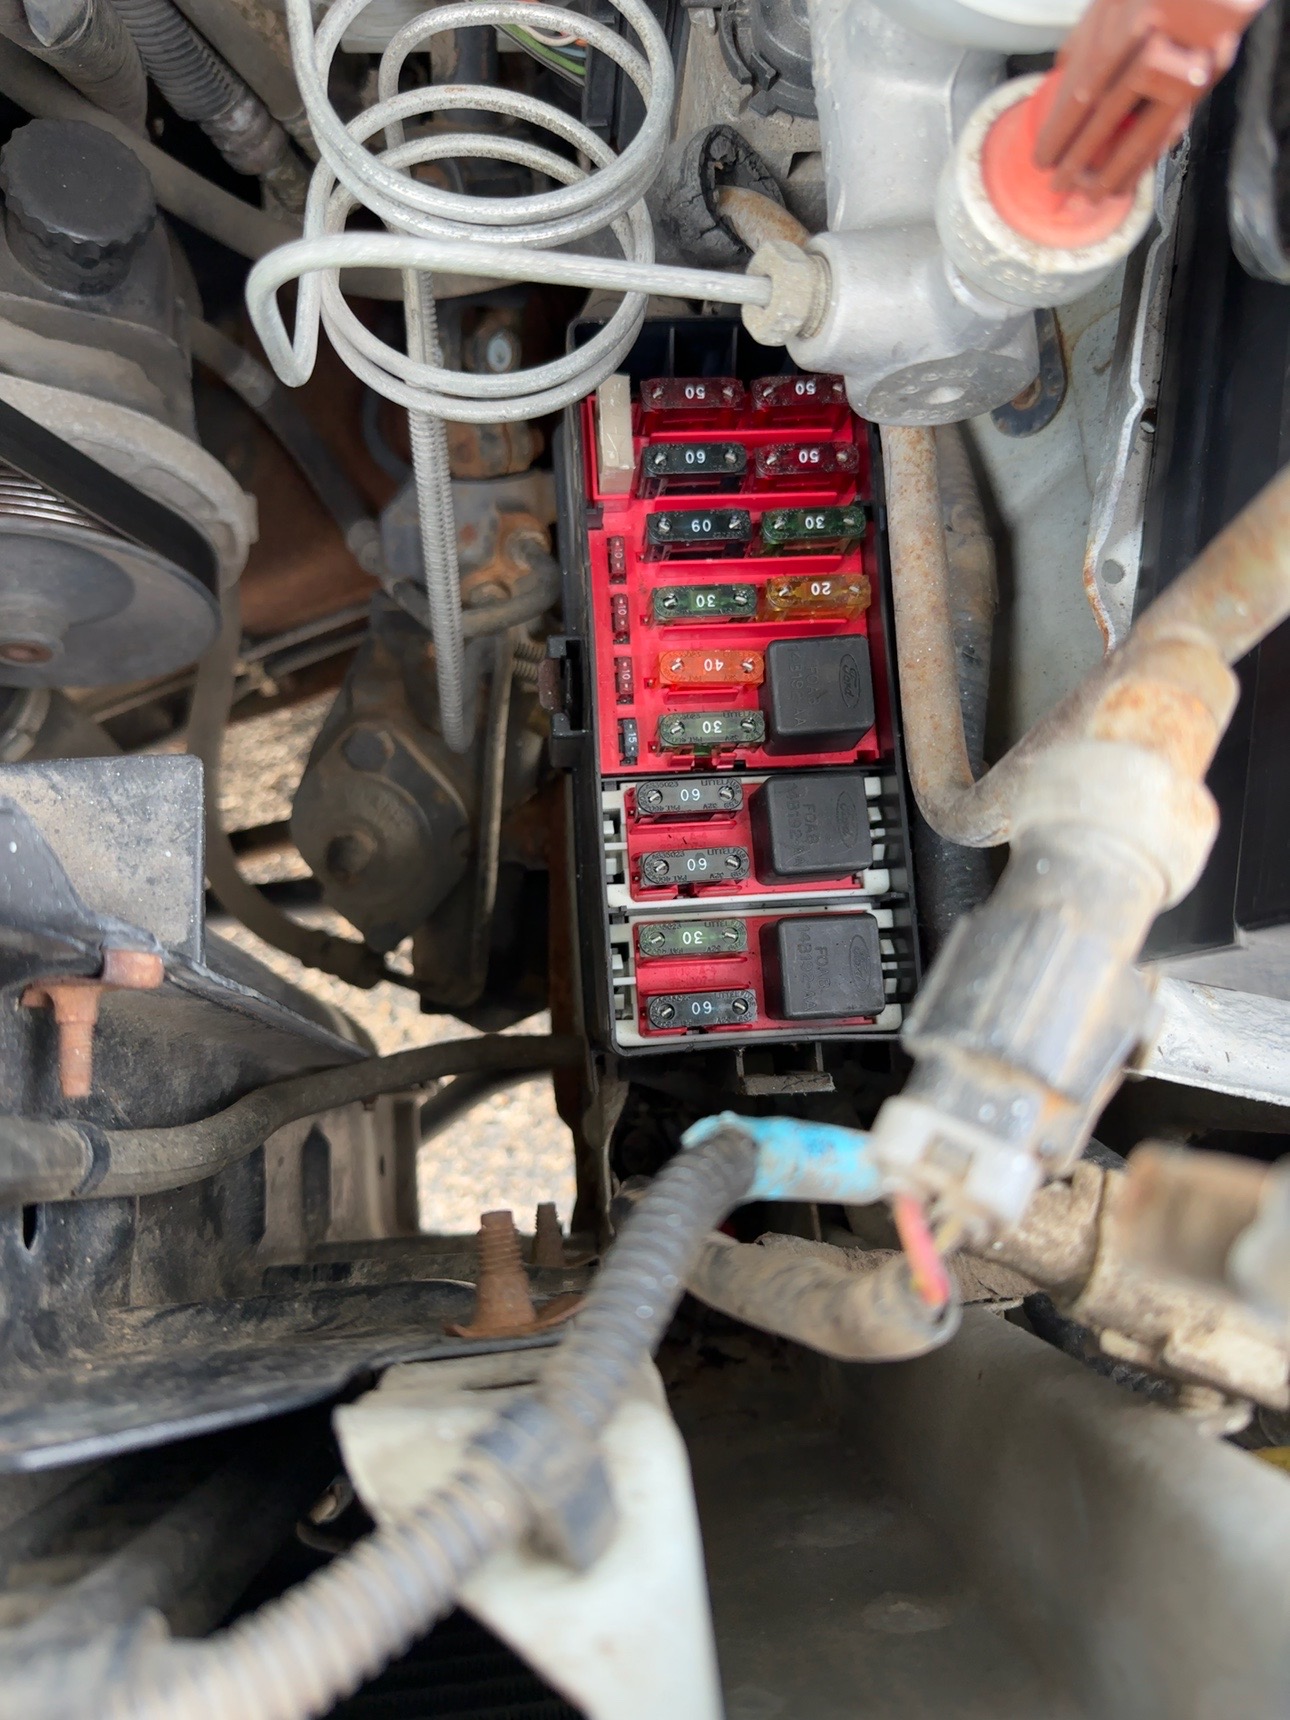
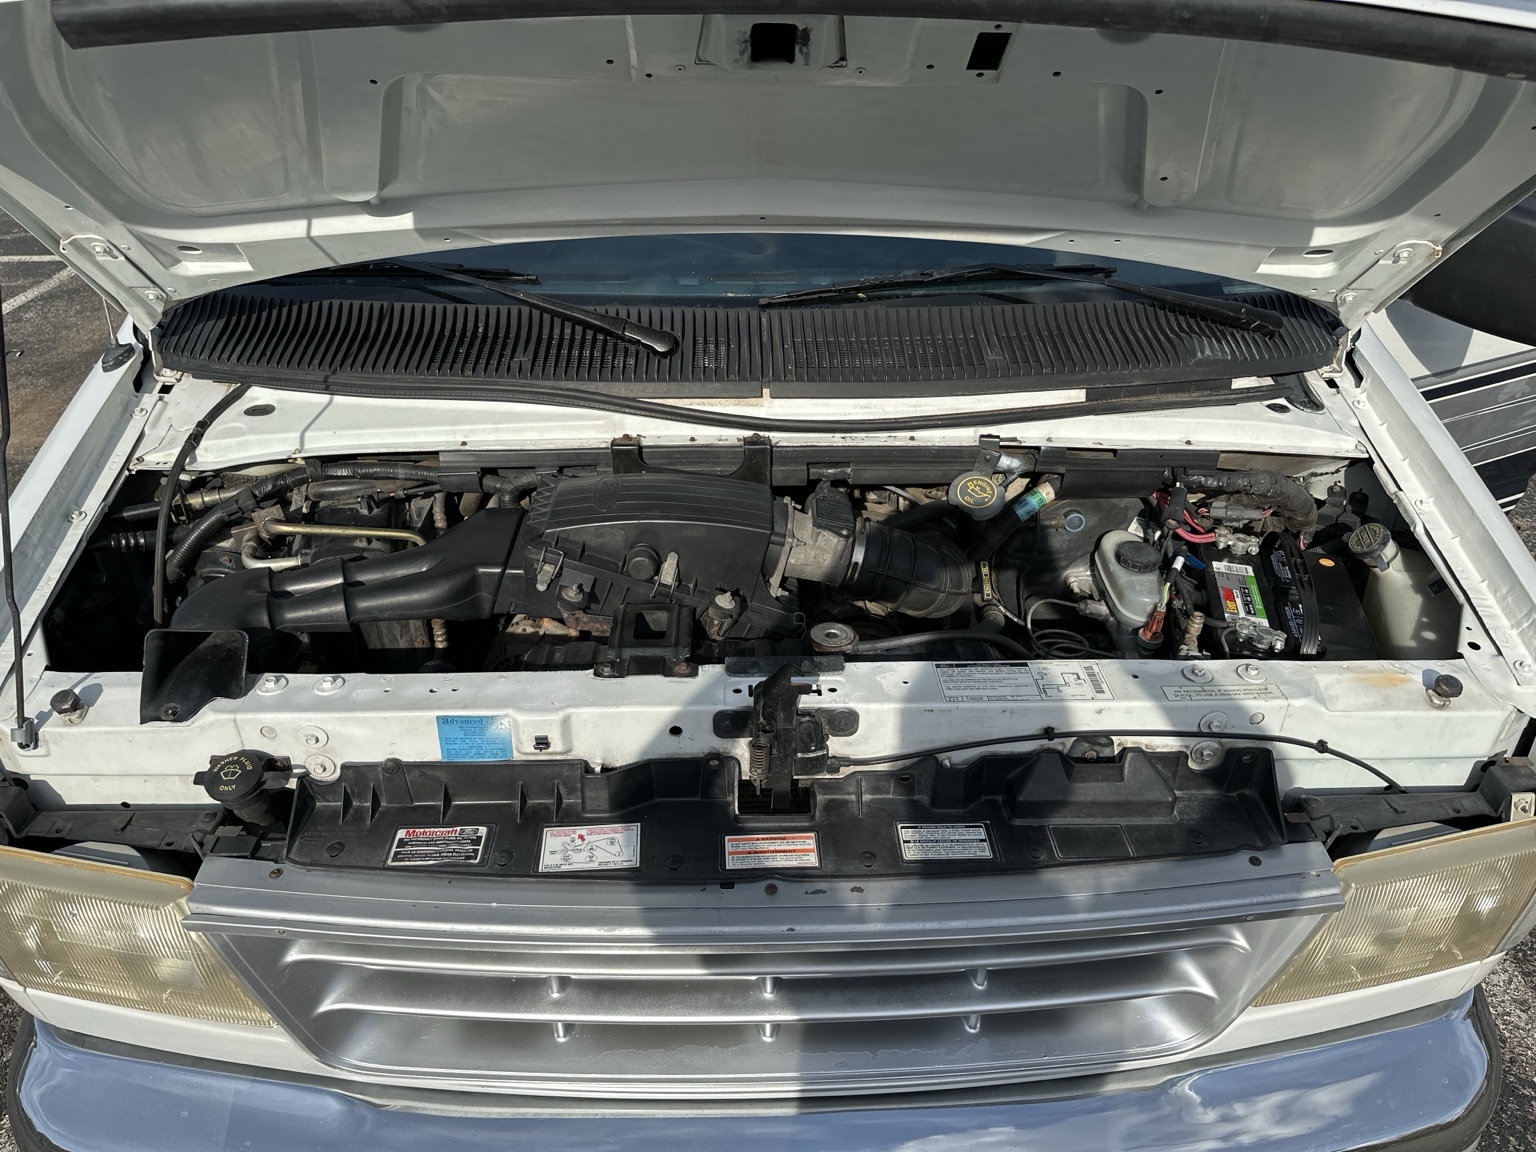
Fuse tester used during the investigation; the lighting diagnosis remains unresolved.Under-hood fuse and relay box as photographed.Elk electrical-system reference page; the installed panel does not match its layout exactly.Installed conversion fuse panel. An empty position is not proof of an available spare circuit.Screened side window, second radio, controls, and conversion fuse panel.Rear sofa mechanism and built-in air compressor; storage clearance and compressor operation remain unverified.Engine bay during inspection; a photograph is not a mechanical assessment.Starter battery label and connections. No separate house battery has been identified.
Images, specs & interactive planning
Earlier concepts and interactive planning.
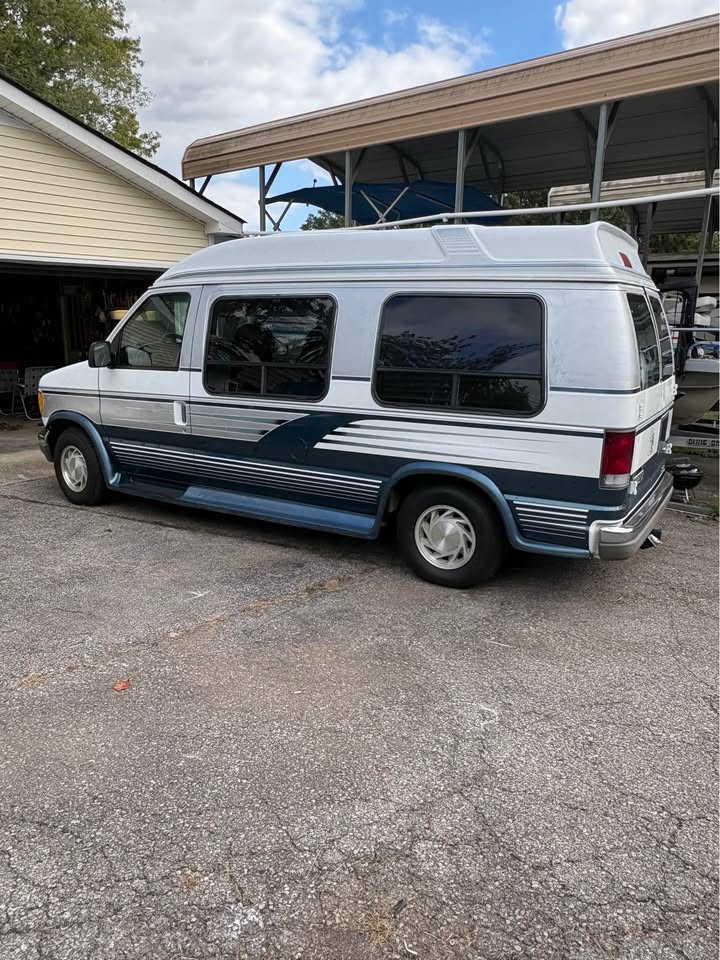
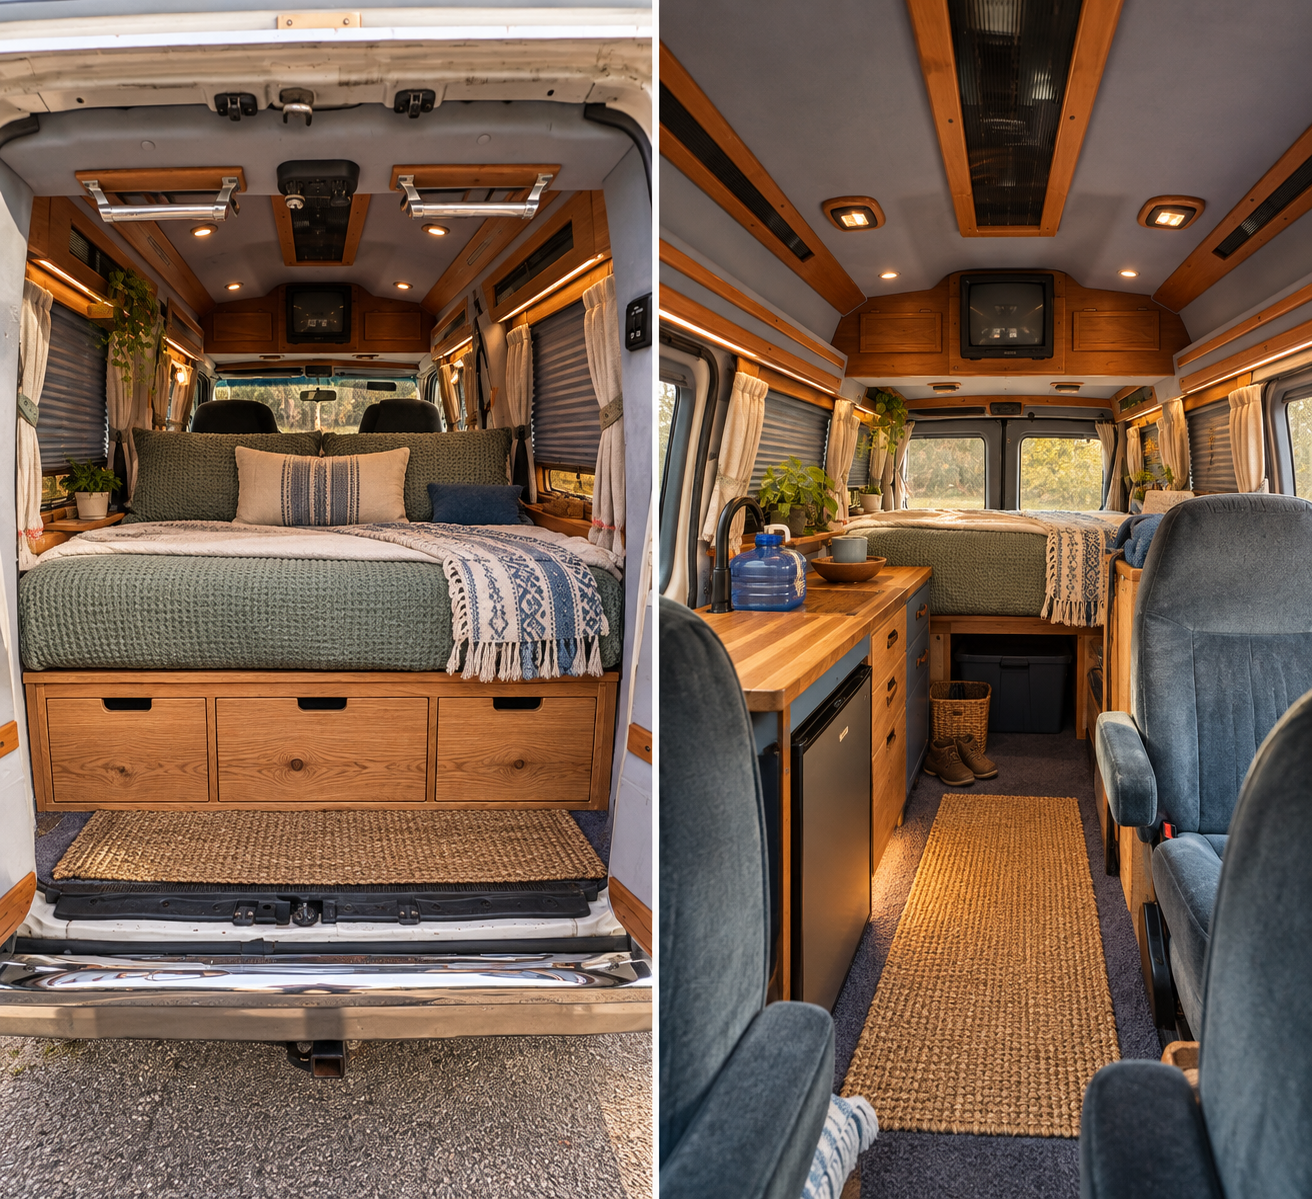
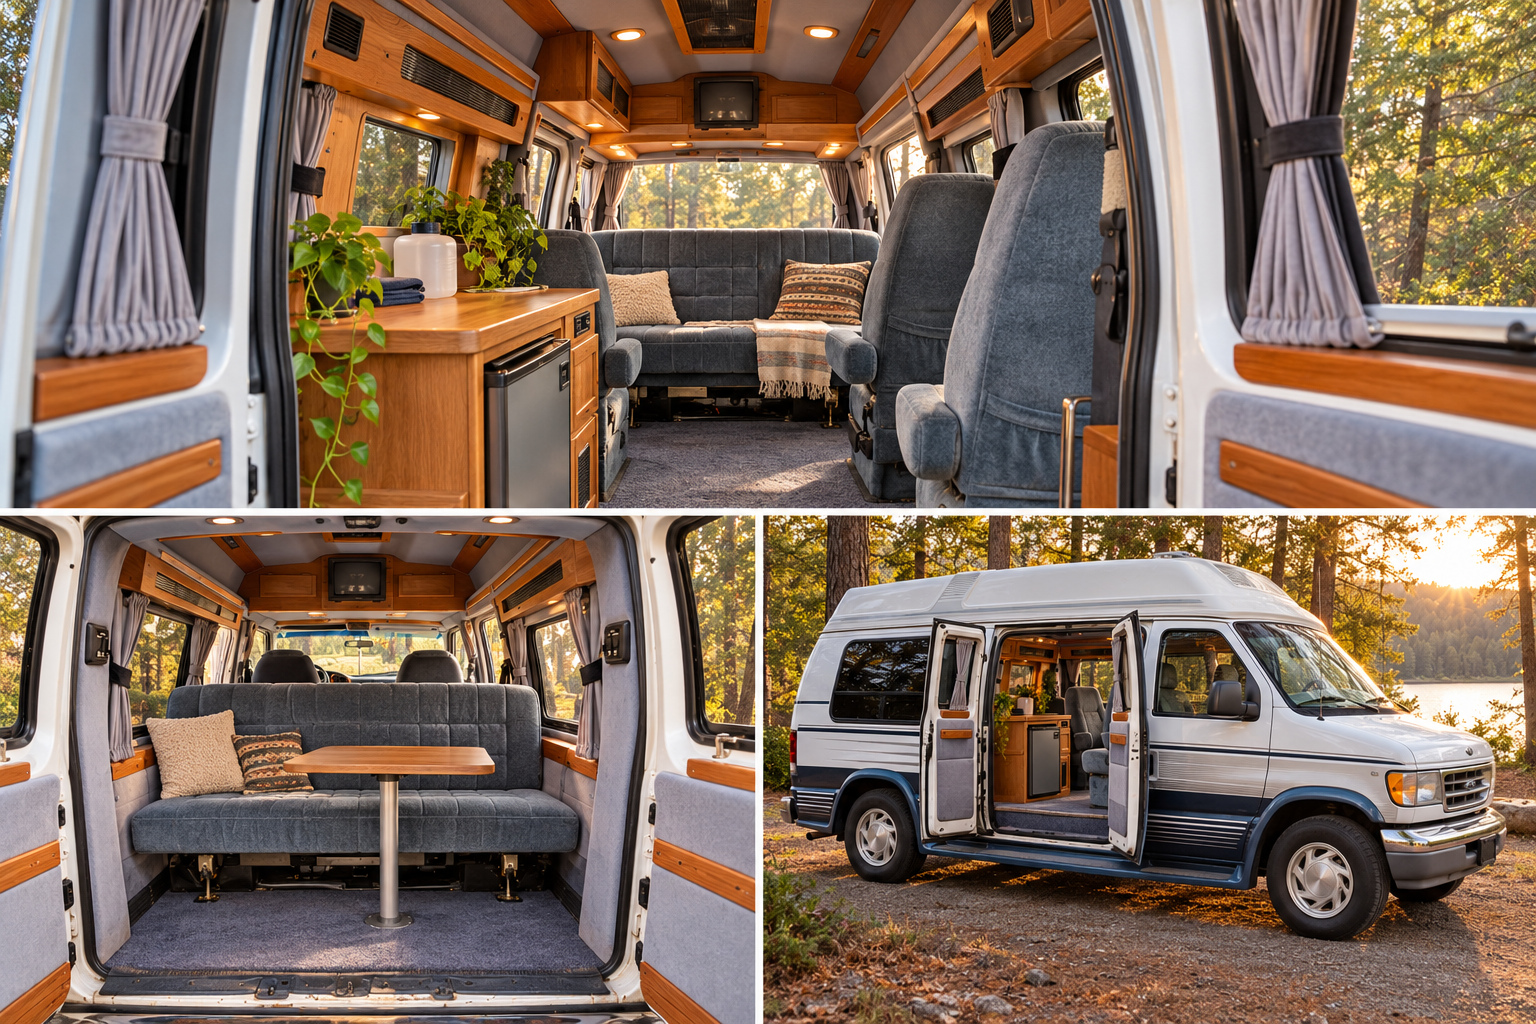
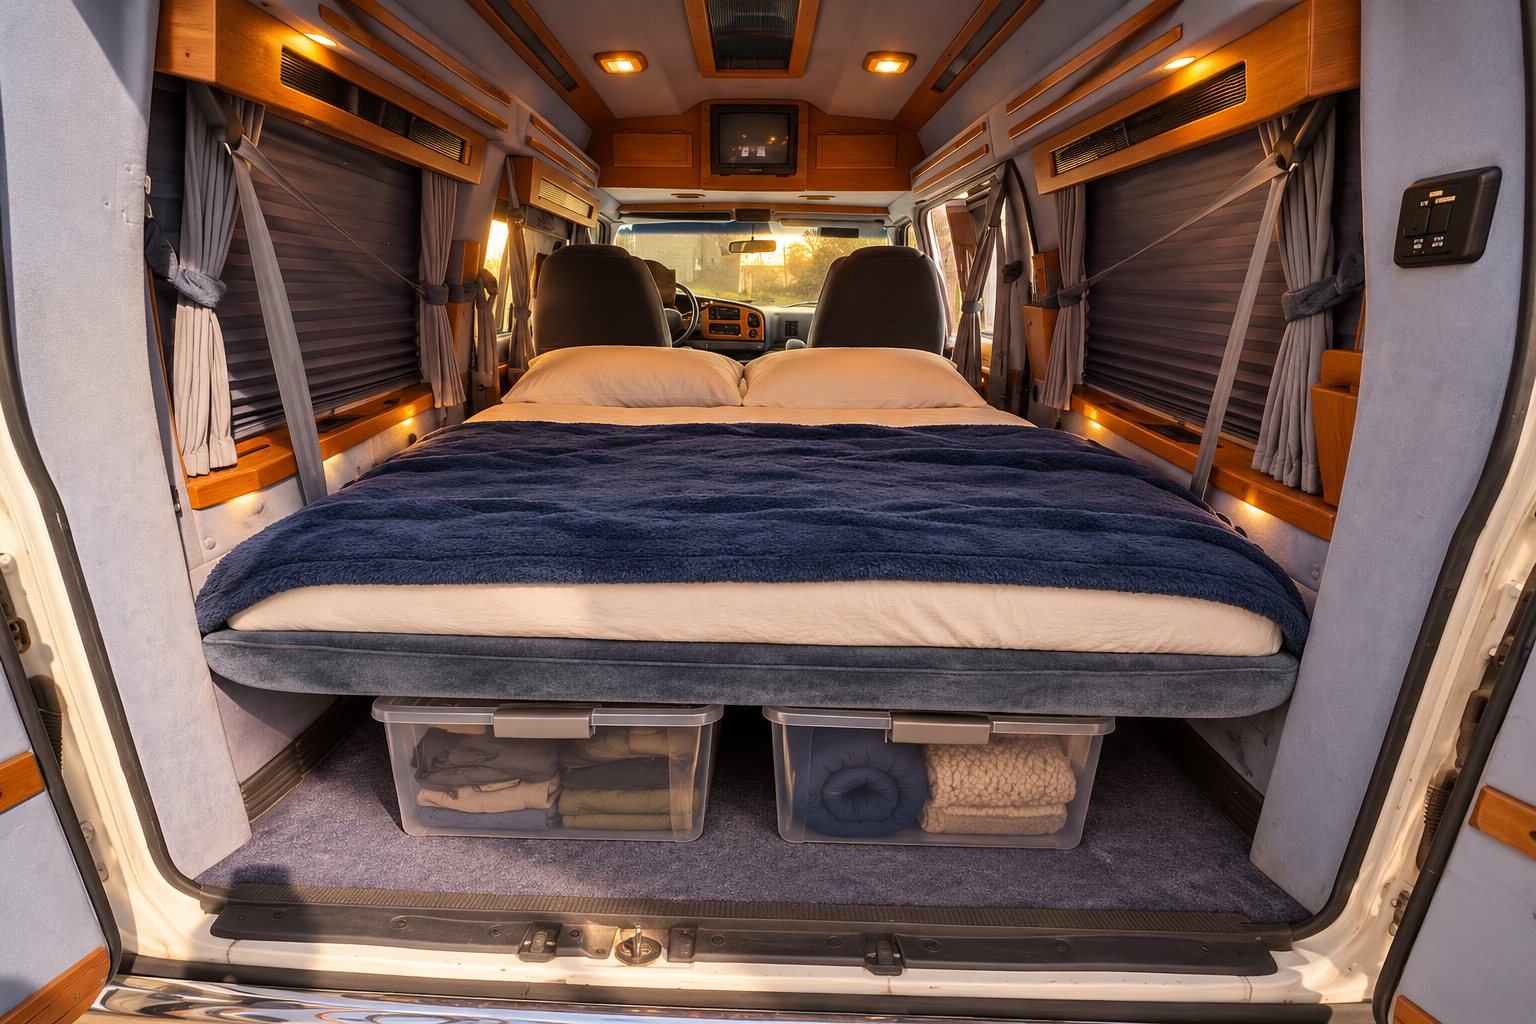
The original concept images and sofa/galley drawings below predate the October 1 rebuild direction. They are retained as earlier ideas, not the current finished design. The concept images are AI-generated; furniture sizes, roof fit, and electrical capacity still need verification in the van.
Reference van photographAI-generated conversion conceptAI-generated daytime layout conceptAI-generated bed layout concept
The public pack includes these images, planning specs, and an offline copy of the studio. Layout changes save in your browser; use Download layout in the studio to keep a separate copy.