Today’s decision is to keep the E-150 build practical: get the fan in, make removable window covers, and insulate the areas that are already open. I don’t need to decide the entire interior style before doing the useful work.
The MaxxAir fan is ordered. The insulation and window covers are the next jobs—not finished installations.
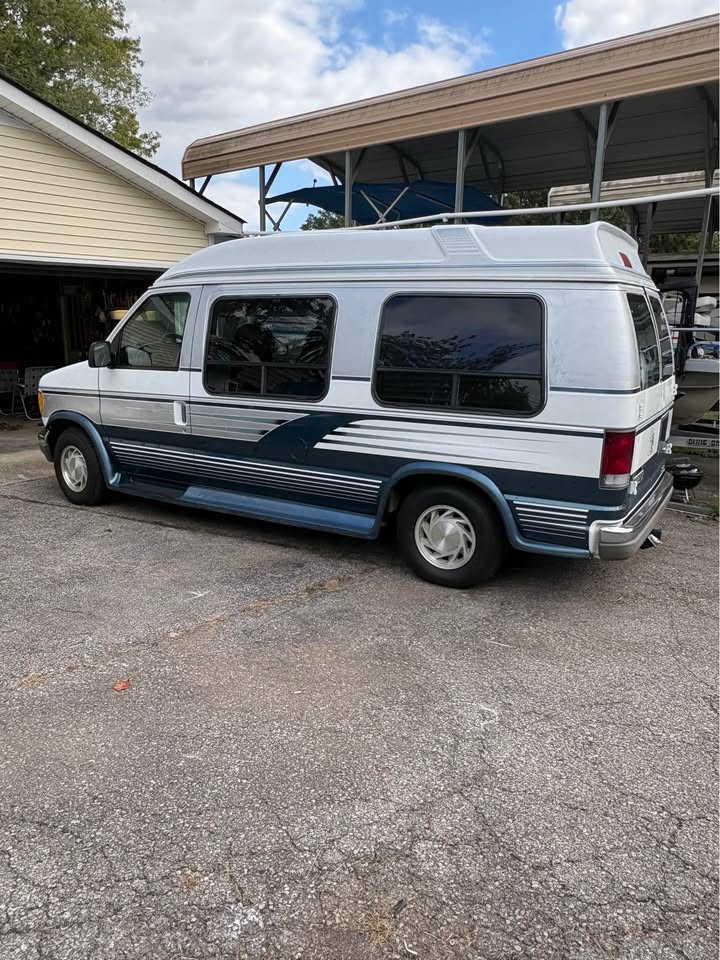
Earlier van reference photograph · Not a photo of today’s completed work.
Where the build stands
The interior is open. Use that access.
I’ve stripped the ceiling and removed the old lights, leaving the wooden roof supports in place. The existing wiring is still there; I haven’t pulled out wiring I haven’t identified. The wall panels are removed, which makes this the sensible time to deal with the wall cavities.
That doesn’t mean everything needs to come apart. The original carpet and the insulation underneath it are staying. Right now, I have no reason to tear up the floor just to add another project.
01 · Ventilation
The fan comes first.
I ordered the MAXXAIR MaxxFan Deluxe 7500K, model 00-07500K, with the smoke cover and remote. The total I recorded today was $351.34. Installation is still ahead.
The installation materials discussed were Dicor white self-leveling lap sealant and Dicor butyl seal tape. I found the pair for $18.29, replacing the more expensive kit we considered earlier. Wiring and a fused power connection are also on the list; their final sizing and the roof mounting/sealing details need to follow the fan instructions and the actual van.
I want ventilation working before I close anything up. The fan can move air through the van, but it isn’t air conditioning.
The large windows are part of what I like about this van. I don’t want to permanently block them. I’m planning removable reflective/insulated covers that I can put in for shade and privacy, then take out when I want daylight and a view.
Make a cardboard template for each window recess.
Use the templates to cut the reflective insulation and any thin foam layer to fit.
Finish or tape the edges so the covers are neat and hold together.
Test a snug friction fit before making the whole set, without permanently gluing covers to the van.
The exact layers and thickness are still being chosen. The preliminary materials estimate discussed was $75–$150, not a final shopping total.
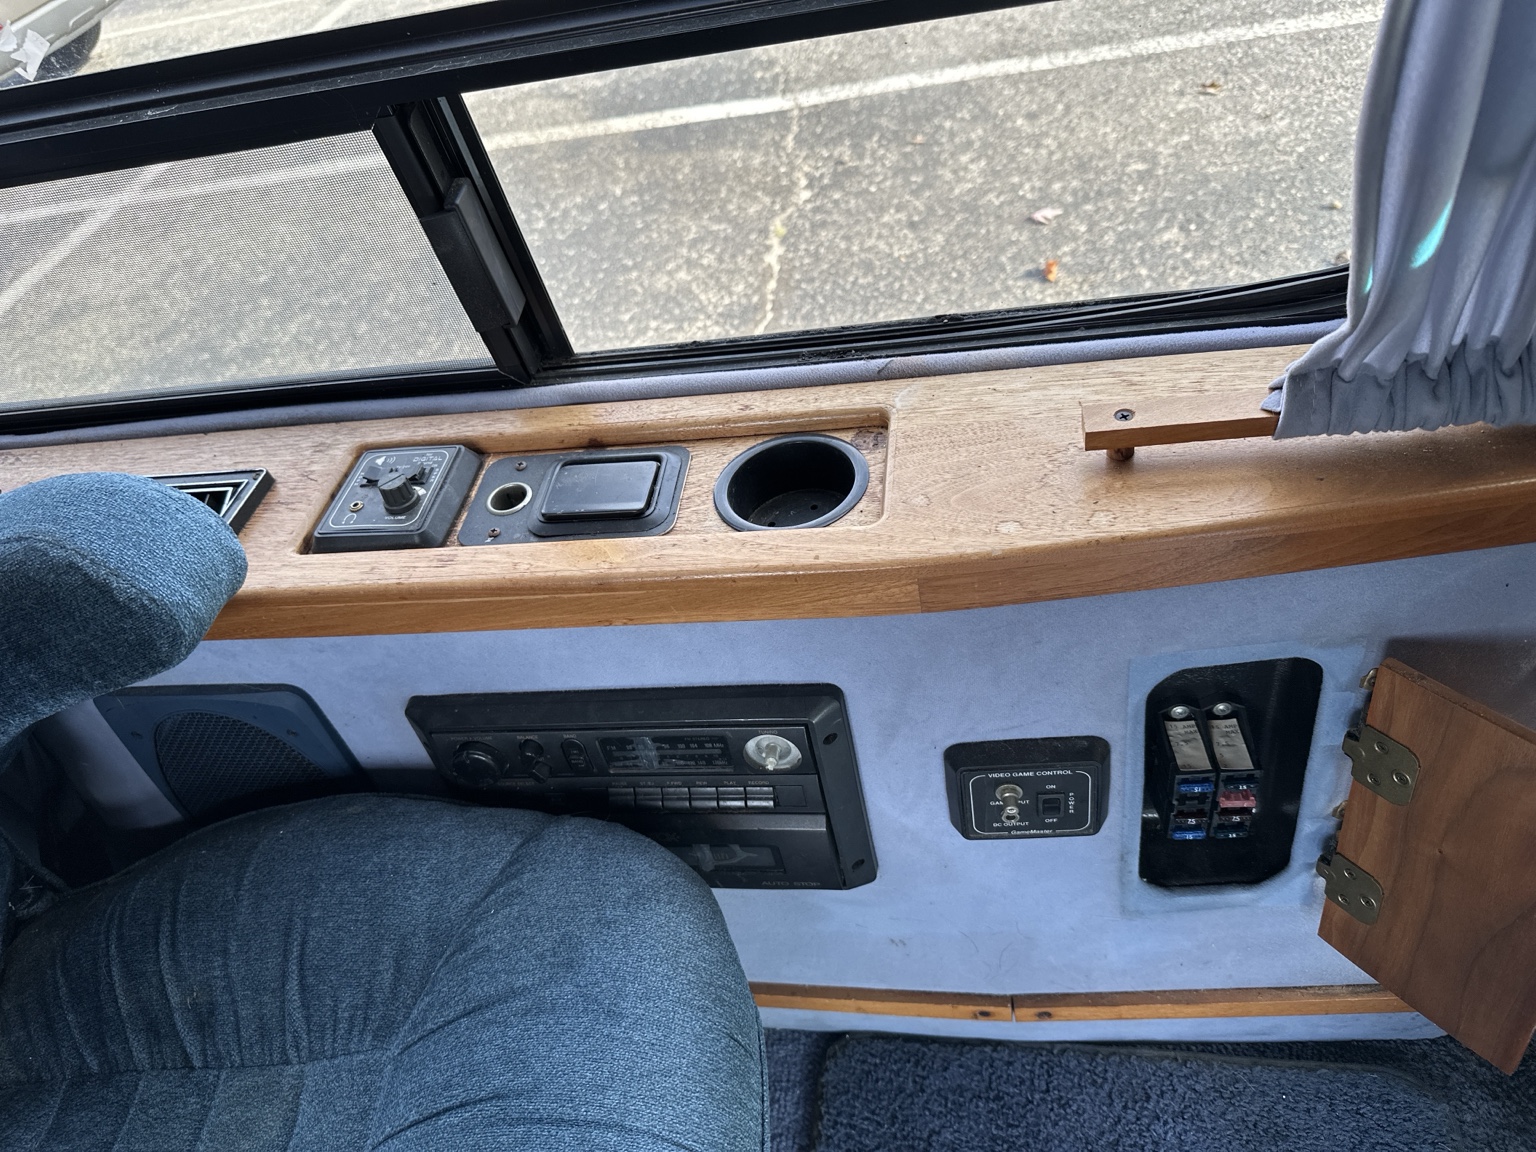
Earlier inspection photo from the October 1 update. The window shape is a reference for the removable-cover plan; no finished cover is shown.
Why windows and roof are the heat priorities
Sun through all that glass and heat at the roof are the first things I want to address. Window covers tackle direct sun, ceiling insulation slows heat transfer, and the fan provides airflow. Those are separate jobs that work together; I’m not treating insulation as a substitute for ventilation.
03 · Ceiling insulation
PolyShield now. The final look can wait.
The ceiling material selected for the plan is 1-inch PolyShield faced polystyrene foam board, in 4-by-8-foot sheets. The price discussed at Lowe’s was $16.78 per sheet. Three sheets would be $50.34 before tax, with 96 square feet of material before cuts and waste. That is a planning quantity, not a measured roof coverage claim.
Loctite PL 300 foamboard adhesive was discussed at $5.48 per cartridge. One detail needs to stay clear: the manufacturer requires at least one porous bonding surface. That means faced foam directly against fiberglass is not a confirmed application just because the adhesive is foam-safe. I still need to settle the compatible attachment method for the actual surfaces.
I’m leaving the ceiling finish open for now. I considered thin plywood, but I haven’t chosen the interior theme, so buying and fitting a decorative ceiling now would get ahead of the plan. Secure attachment and appropriate foam protection still need to be resolved; delaying the cosmetic finish is not a completed exposed-foam installation.
04 · Walls / Floor decision
Insulate the open walls. Leave the floor alone.
With the wall panels already removed, I want to insulate the cavities before the panels go back. Thinsulate is one material discussed for those irregular spaces, but the quantity and cost are not finalized. Wiring access and the condition of the exposed areas need attention before they are covered.
The floor is a different decision: keep the original carpet and existing insulation. There is currently no reason to tear it apart. Ceiling and wall appearance can come later, once I know the style I actually want.
October 2 shopping notes
What the numbers actually represent.
These are prices recorded in today’s conversation, not current checkout quotes. Only the fan is explicitly recorded here as ordered; planned materials are not being counted as completed installations.
Item
Discussed price
Status / scope
MaxxFan Deluxe 7500K
$351.34
Ordered; recorded total. Not installed yet.
Dicor sealant + butyl tape
$18.29 together
Installation materials found; purchase not confirmed.
PolyShield 1″ × 4′ × 8′
$16.78 each; $50.34 for three
Ceiling plan; before tax, cuts and waste.
Loctite PL 300
$5.48 per cartridge
Discussed adhesive; surface compatibility remains to be settled.
GREAT STUFF Window & Door, 12 oz
$6.18
Considered for suitable small gaps; not a purchased or approved whole-roof system.
DIY window-cover materials
$75–$150 estimated
Preliminary range; final layers and quantities not chosen.
Thin 1/8″ plywood, 4′ × 8′
$18.98 per sheet
Considered, then deferred with the ceiling finish.
Wall insulation
Not finalized
Thinsulate discussed; measure cavities before buying.
A separate power note
The portable-power option selected in the conversation was a Jackery Explorer 1000 V2 with one 200W solar panel: a $699 cart price, plus a $31 carrying bag, with a reported total of $799.36 including tax. That records today’s discussion; it is not a claim that the system has been installed or tested in the van.
The current build priority
One useful job after another.
Fan: plan the mounting, sealing and power, then install and test it.
Window covers: template, cut, finish the edges and friction-fit.
Ceiling insulation: measure, confirm attachment and fit the insulation.
Wall insulation: use the access while the wall panels are removed.
Cosmetic ceiling and wall finishes: choose the interior style first.
I want the van more comfortable before I spend time making it look finished. The floor stays put, the windows stay usable, and the final theme can wait.